The 3 Keys to an Abundant Grazing table
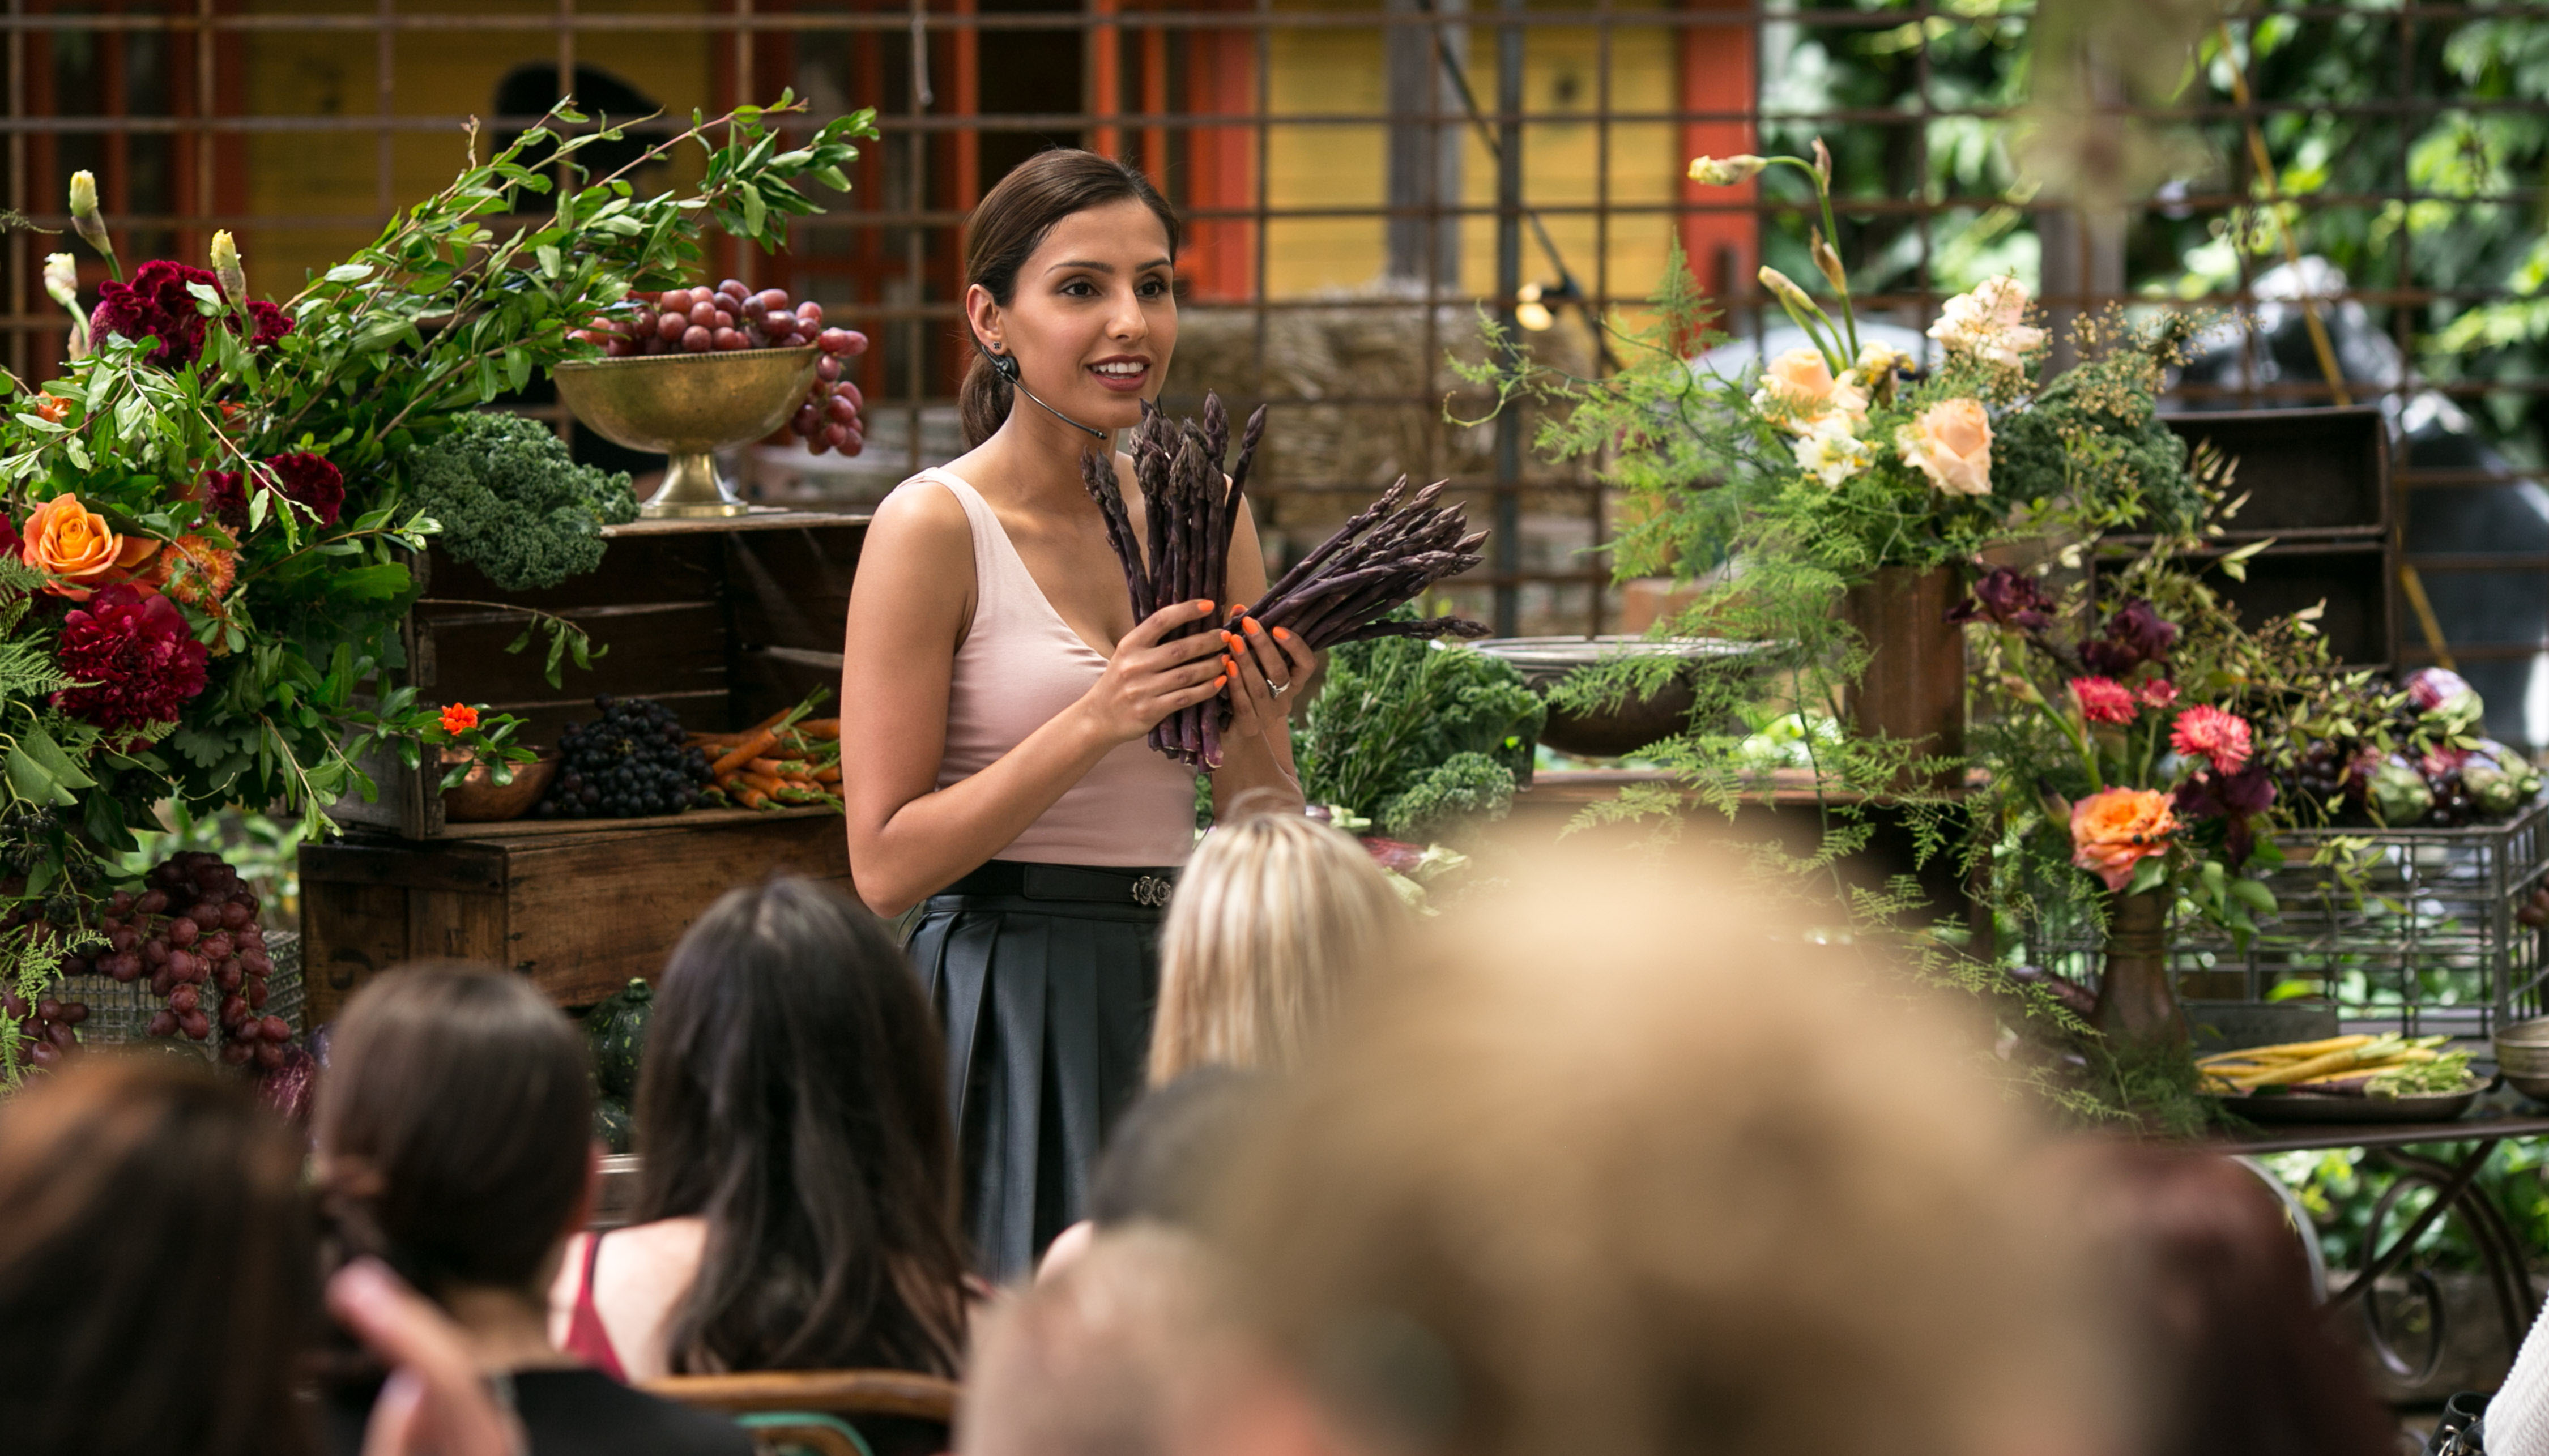
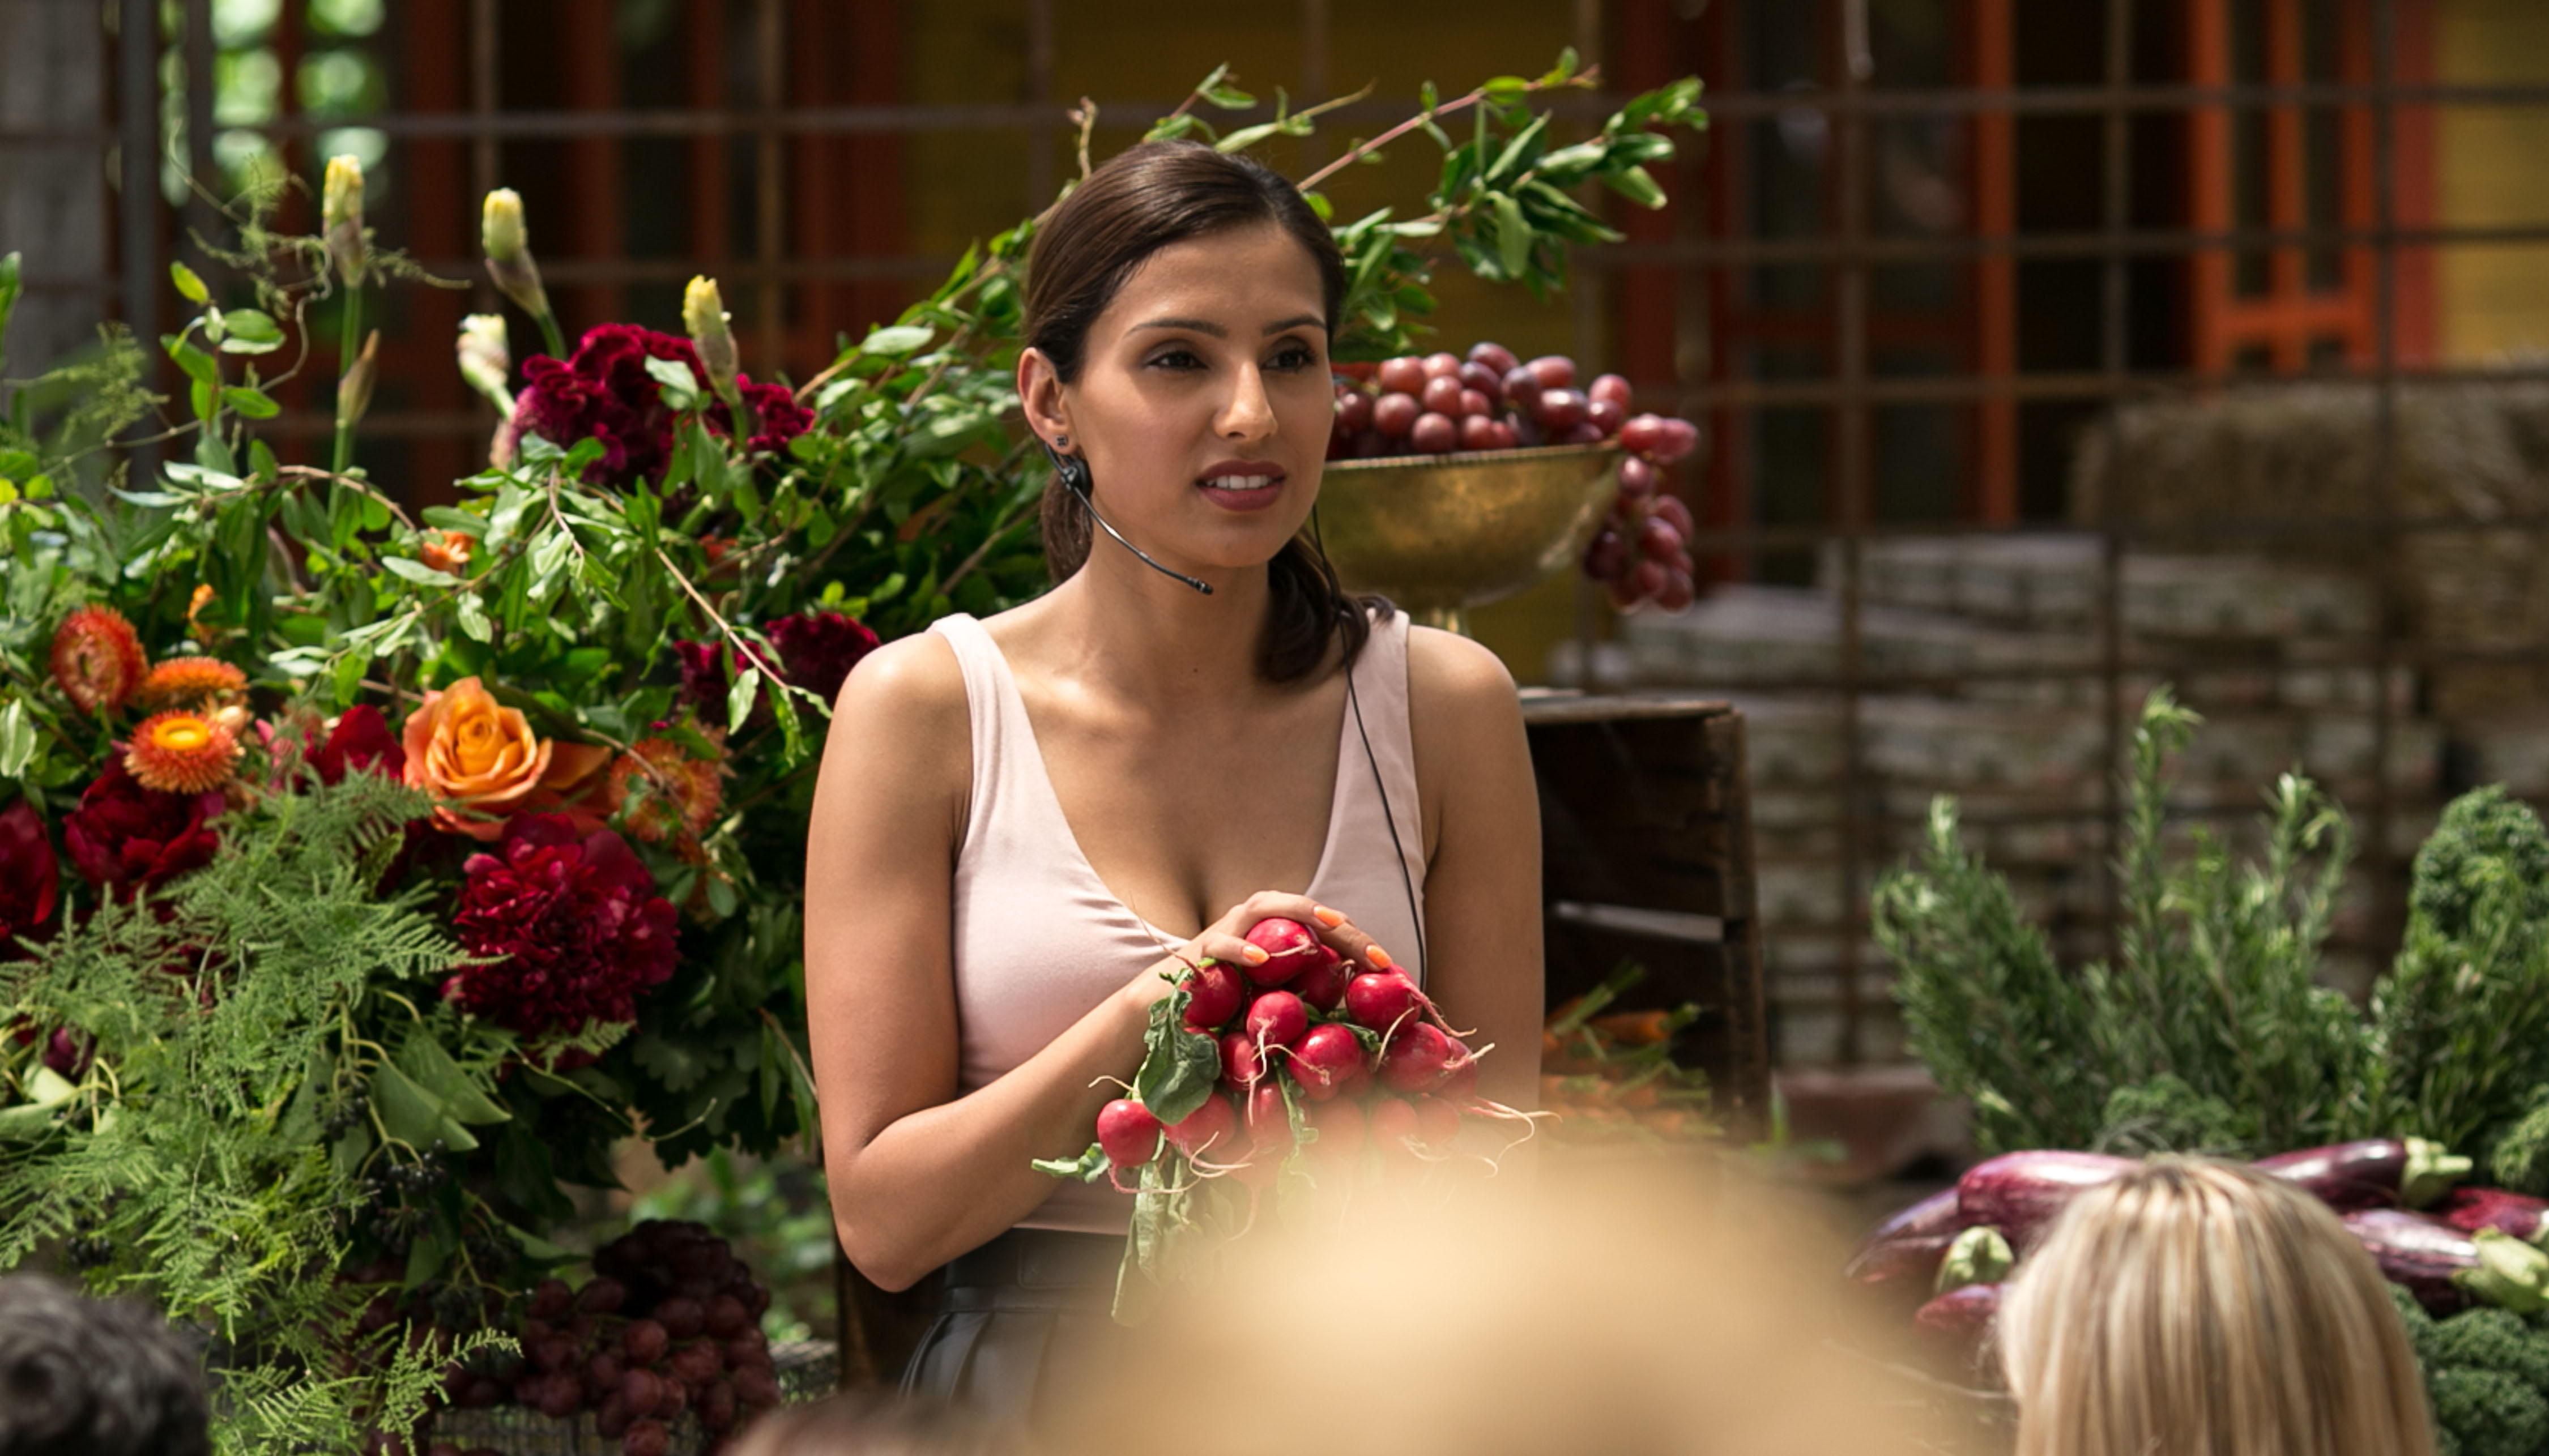
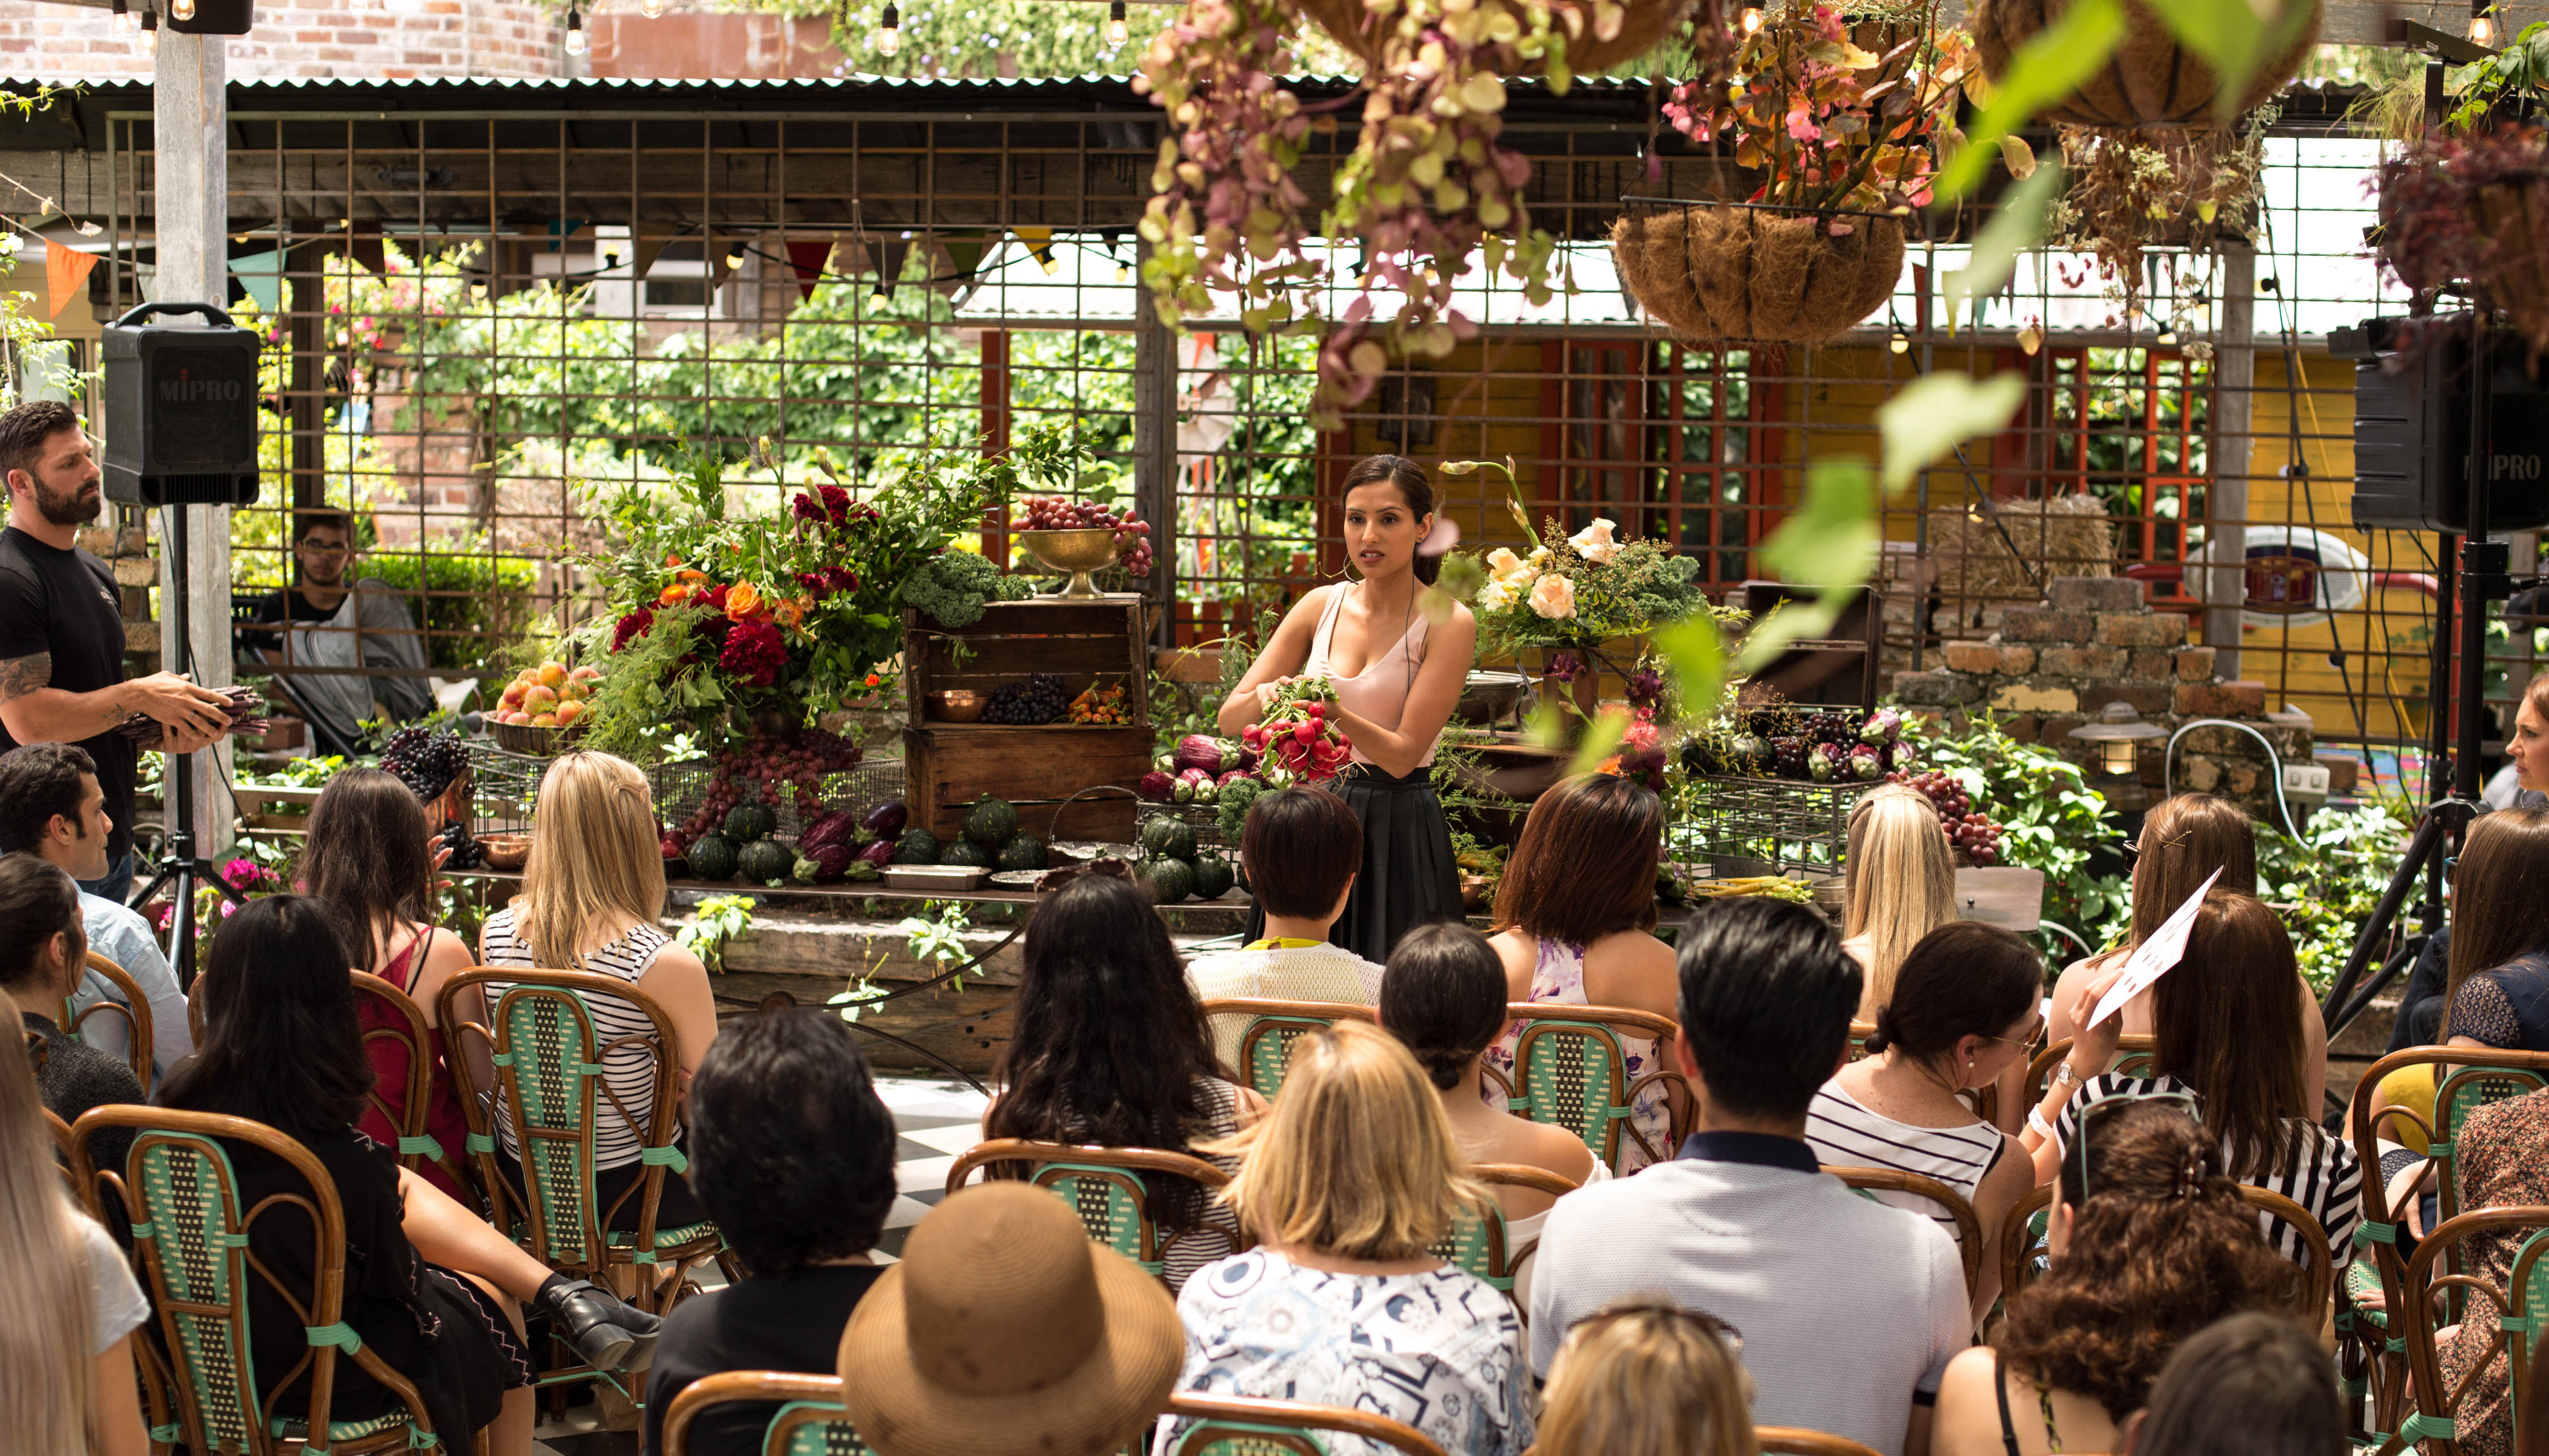
This week I had an amazing opportunity to present at Goodness Me Box which was a wholefood market hosted here in The Grounds Garden. I often get a lot of questions regarding styling but particularly in regards to styling grazing tables and how to make them look good. For the presentation, I broke down the three main key factors to styling a luscious and abundant looking grazing table. Have a read of the article but also check our Facebook page where you can see a video of the presentation live. The quality isn’t the best, but it does really help you see the progression of the table from beginning to end.
So how on earth did we come up with the idea of an abundant grazing table? Well, let me tell you it’s not a new idea! The use of these feasting tables dates back to medieval times and in more recent history (but not that recent) were being used by a lot of the British aristocracy in the mid to late 1800’s.
Many of the government and the wealthy people of the day would host formal and lavish events where they would basically try to out pimp each other with their displays of wealth and opulence. They would exhibit extravagant food displays packed with an overabundance of food.
When styling the grazing there are three main keys to stick to, if you stick to these then you’ll be well on your way to being your own self-made grazing table pro:
- Creating height – if there is no height or structure to the setup, the table will become very flat and two dimensional.
- Vintage props – You really want to tell a story through the use of older looking props. Otherwise, the table will look fake and soulless.
- Colouring Blocking & Textures – Make sure all your colours are harmonious to the eye and that there are no clashing colours.
Creating Height
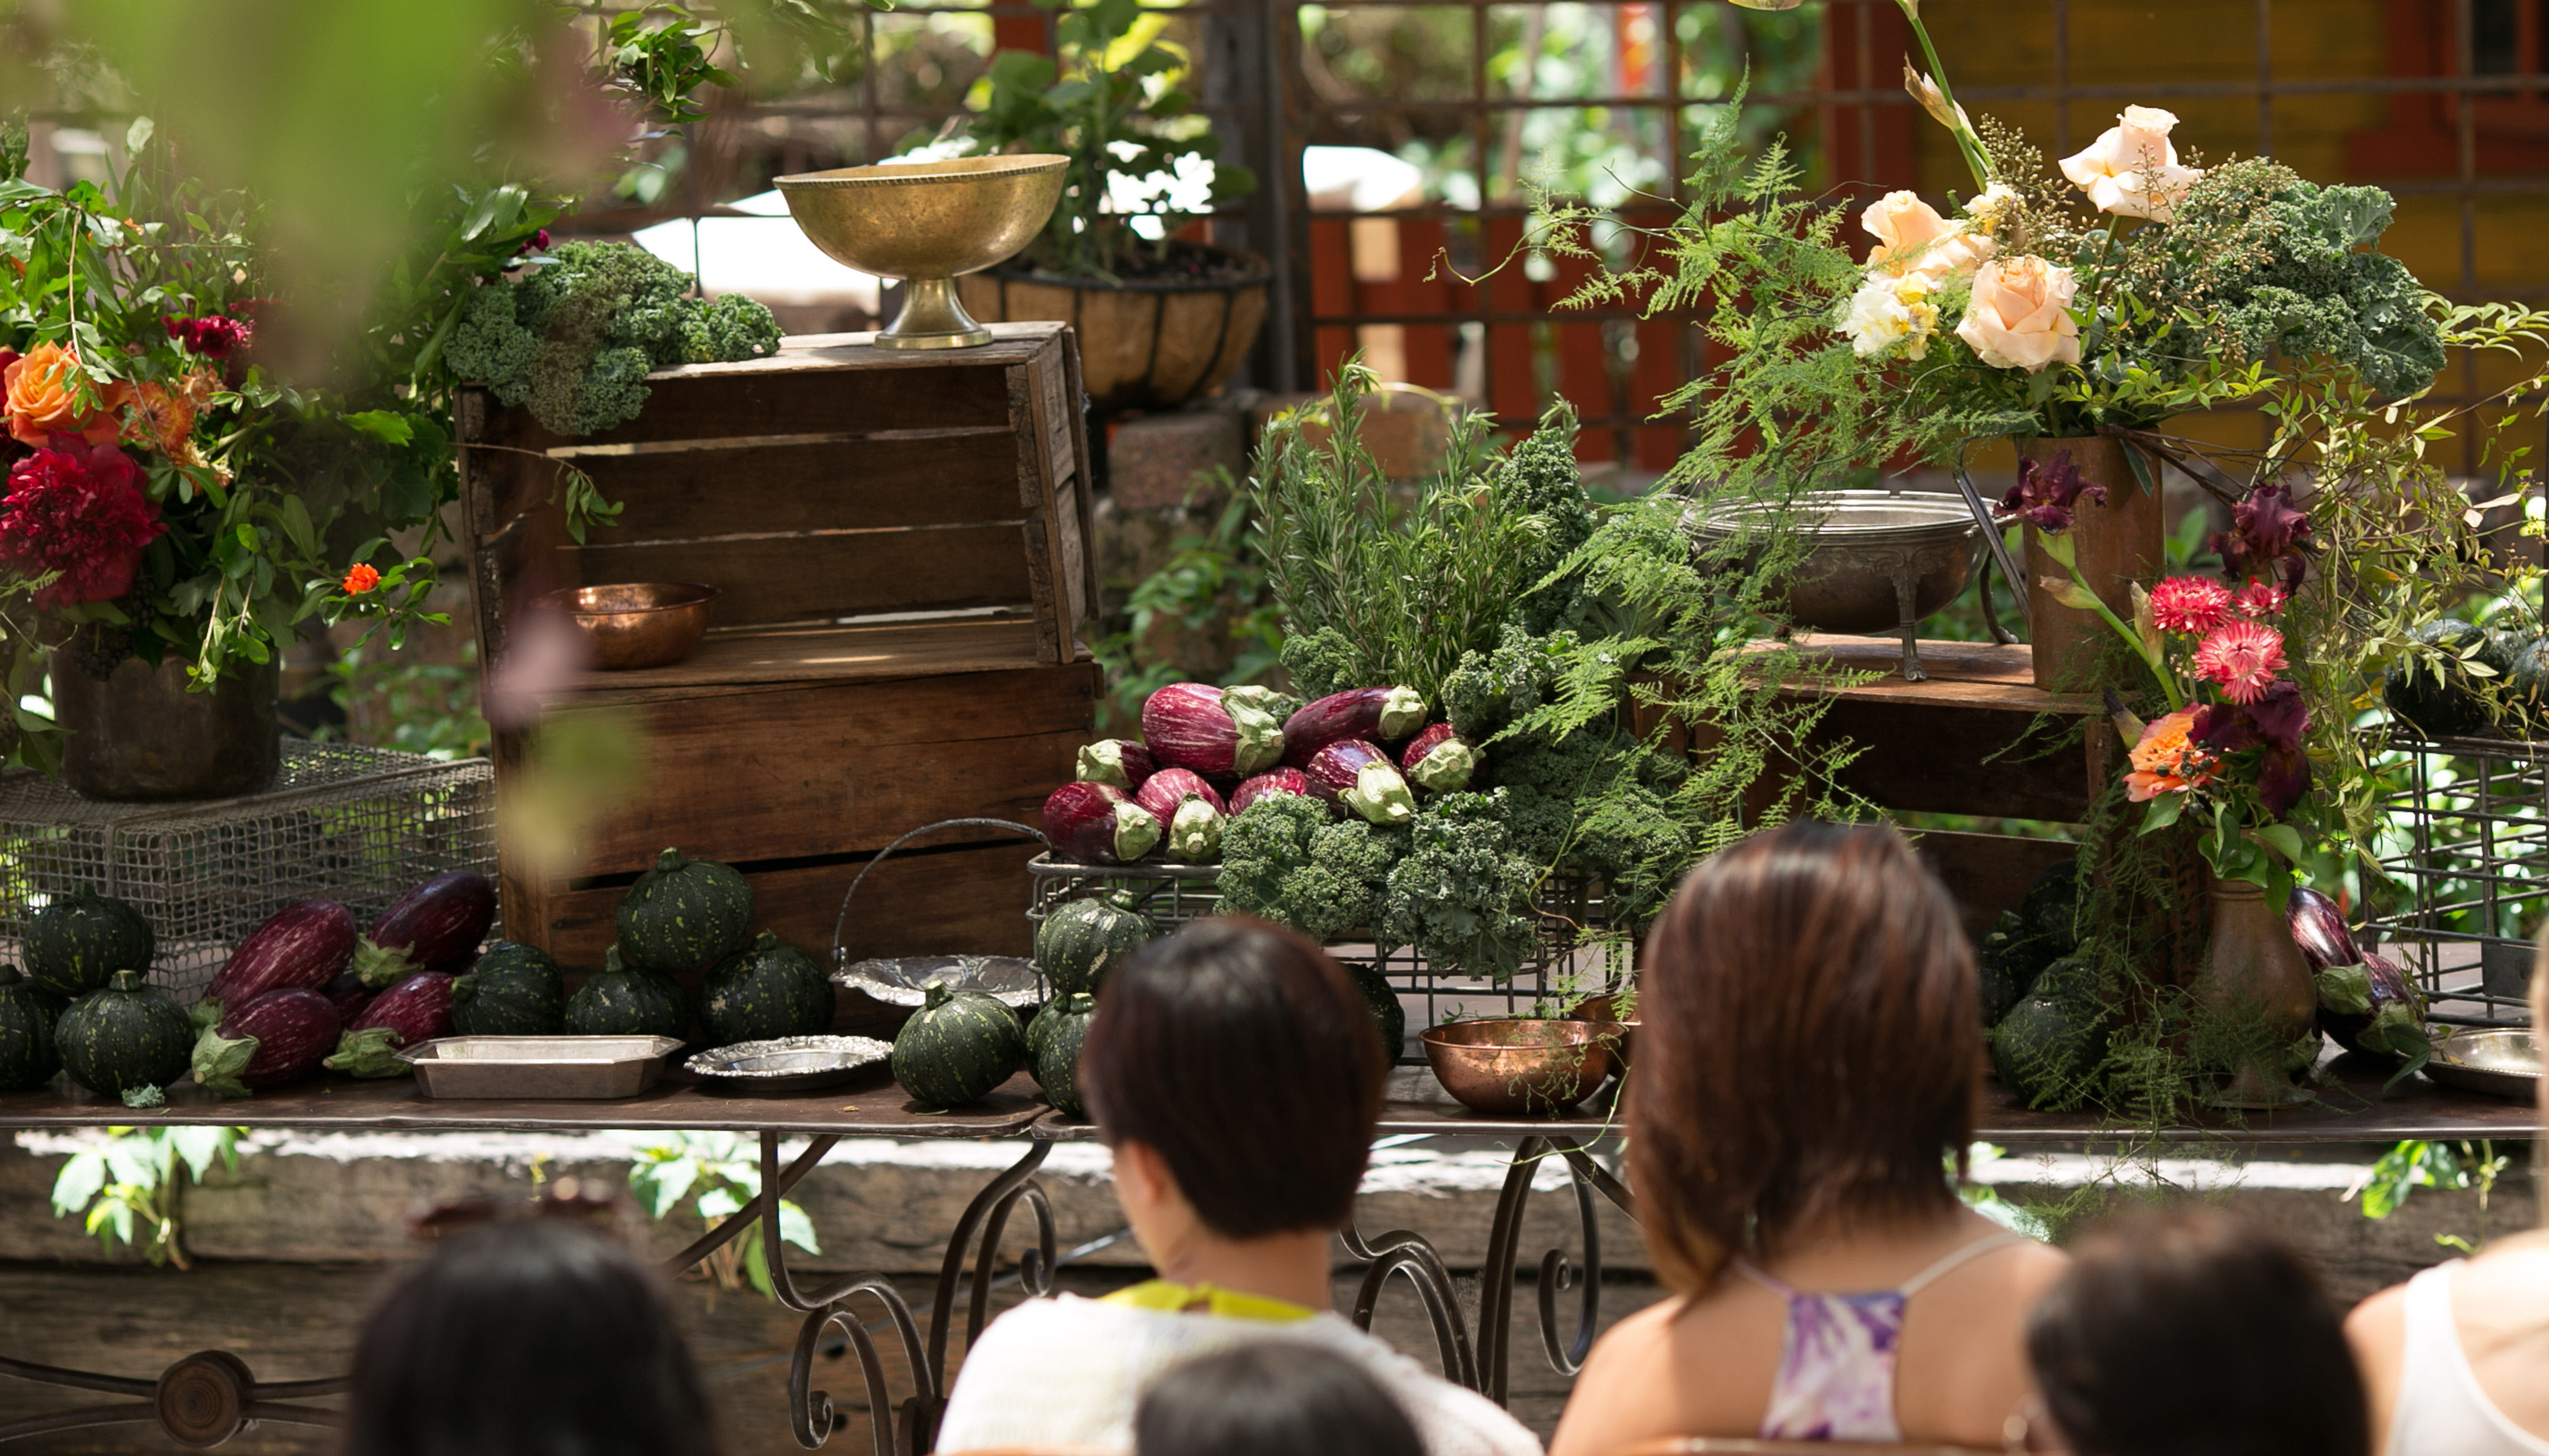
When creating height you must work back to front. The back being the furthest from the viewer and the highest point and the front the lowest point of the display. This goes for round tables too; the middle section of the round table will be your highest point, then the edge of your table will be your lowest.
The height brings a three-dimensional feel to your structure. You don’t want things to be two-dimensional, you want it loose, un-structured and a bit of an adventure with plenty of nooks & crannies and little vignettes all throughout; the ultimate instagrammable feast.
Vintage Props
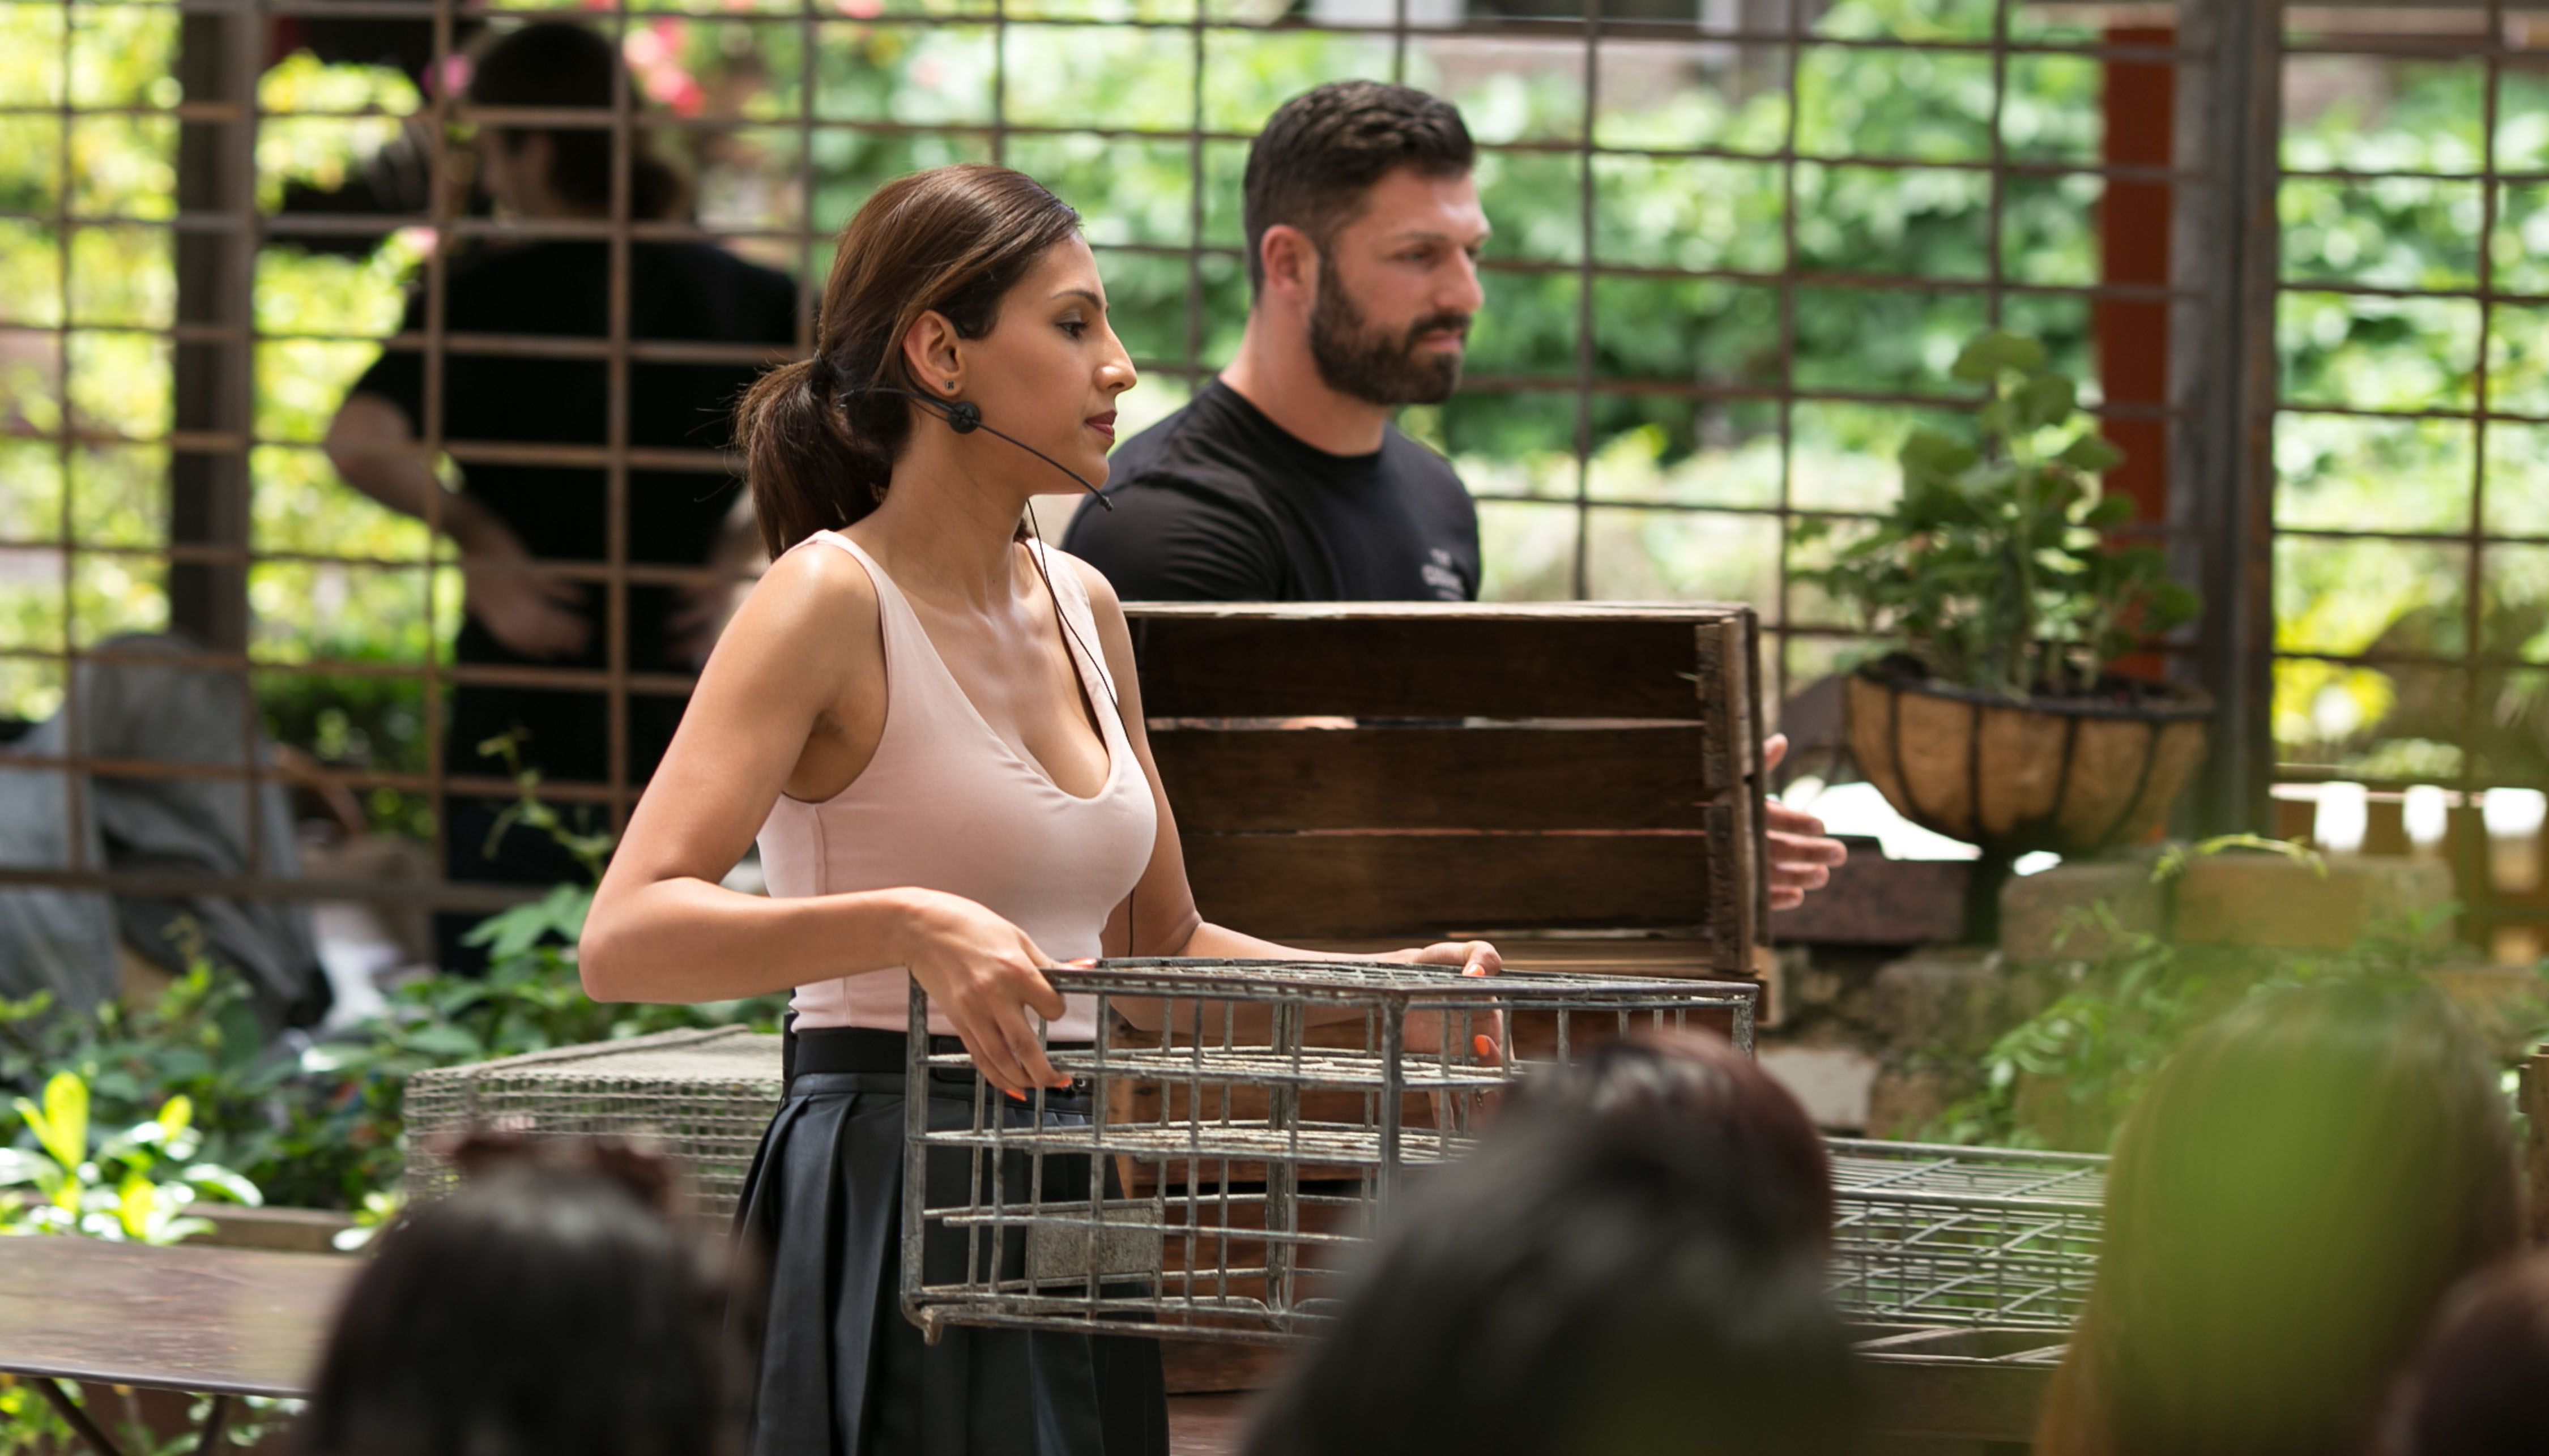
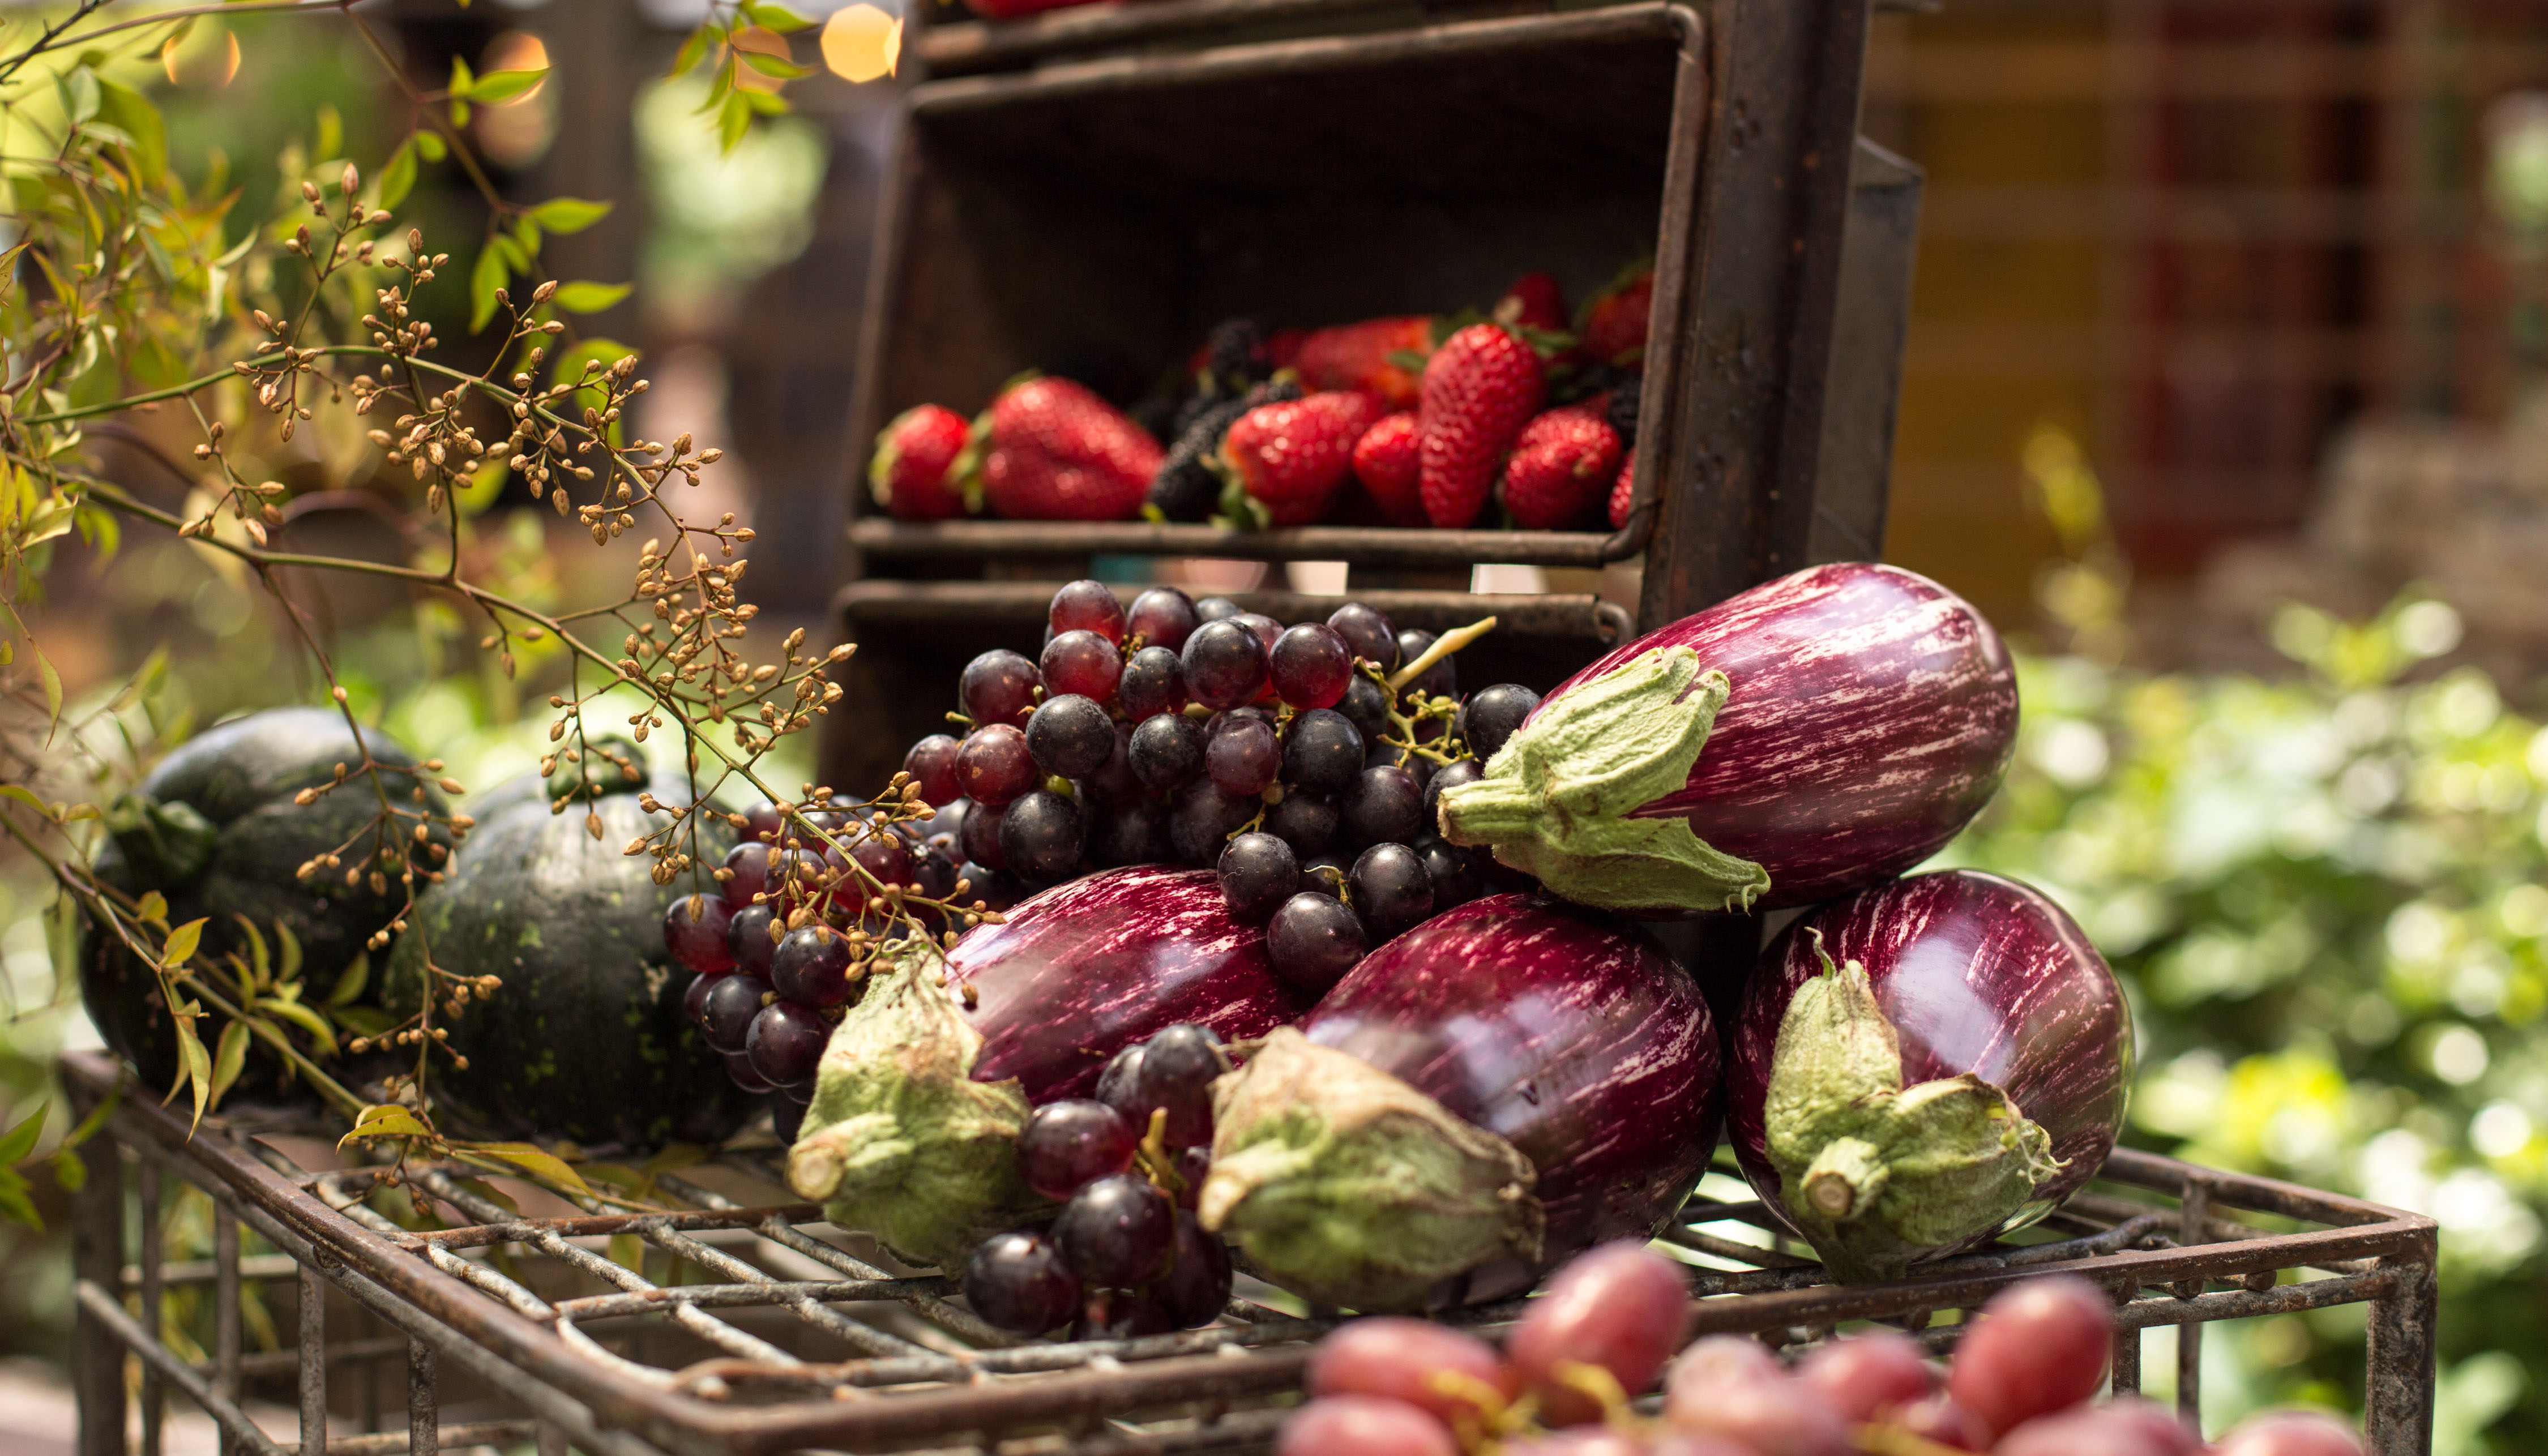
Using old timber crates and metal milk crates as the foundation and bones of the grazing table, place the props centred in the table, side by side. Mix up the materials so that things look natural (you never want this table to feel forced). With their different colours and textures, this will also aid in creating that three-dimensional depth that I mentioned earlier (make mention of a similar dynamic in my post from a couple of weeks back on how to create a green wall). Place some of your props on their sides and others on top of each other to create your height.
If you’re overwhelmed by the thought of having to spend big money to get a collection of props together, it’s not as bad as you think. You just need to get your shop on and go exploring. Sydney has a lot of great vintage wares and bricker brack stores where you can pick up a cheeky bargain. In a few weeks i’ll actually be writing an article for some of my top spots to source great styling props, so stay tuned for that!
Remember you can always get the price cheaper, bargain until you get a bargain!
Colour blocking + Textures
This is my favourite part! Adding colour. This is where you can get super creative and really see your grazer come to life.
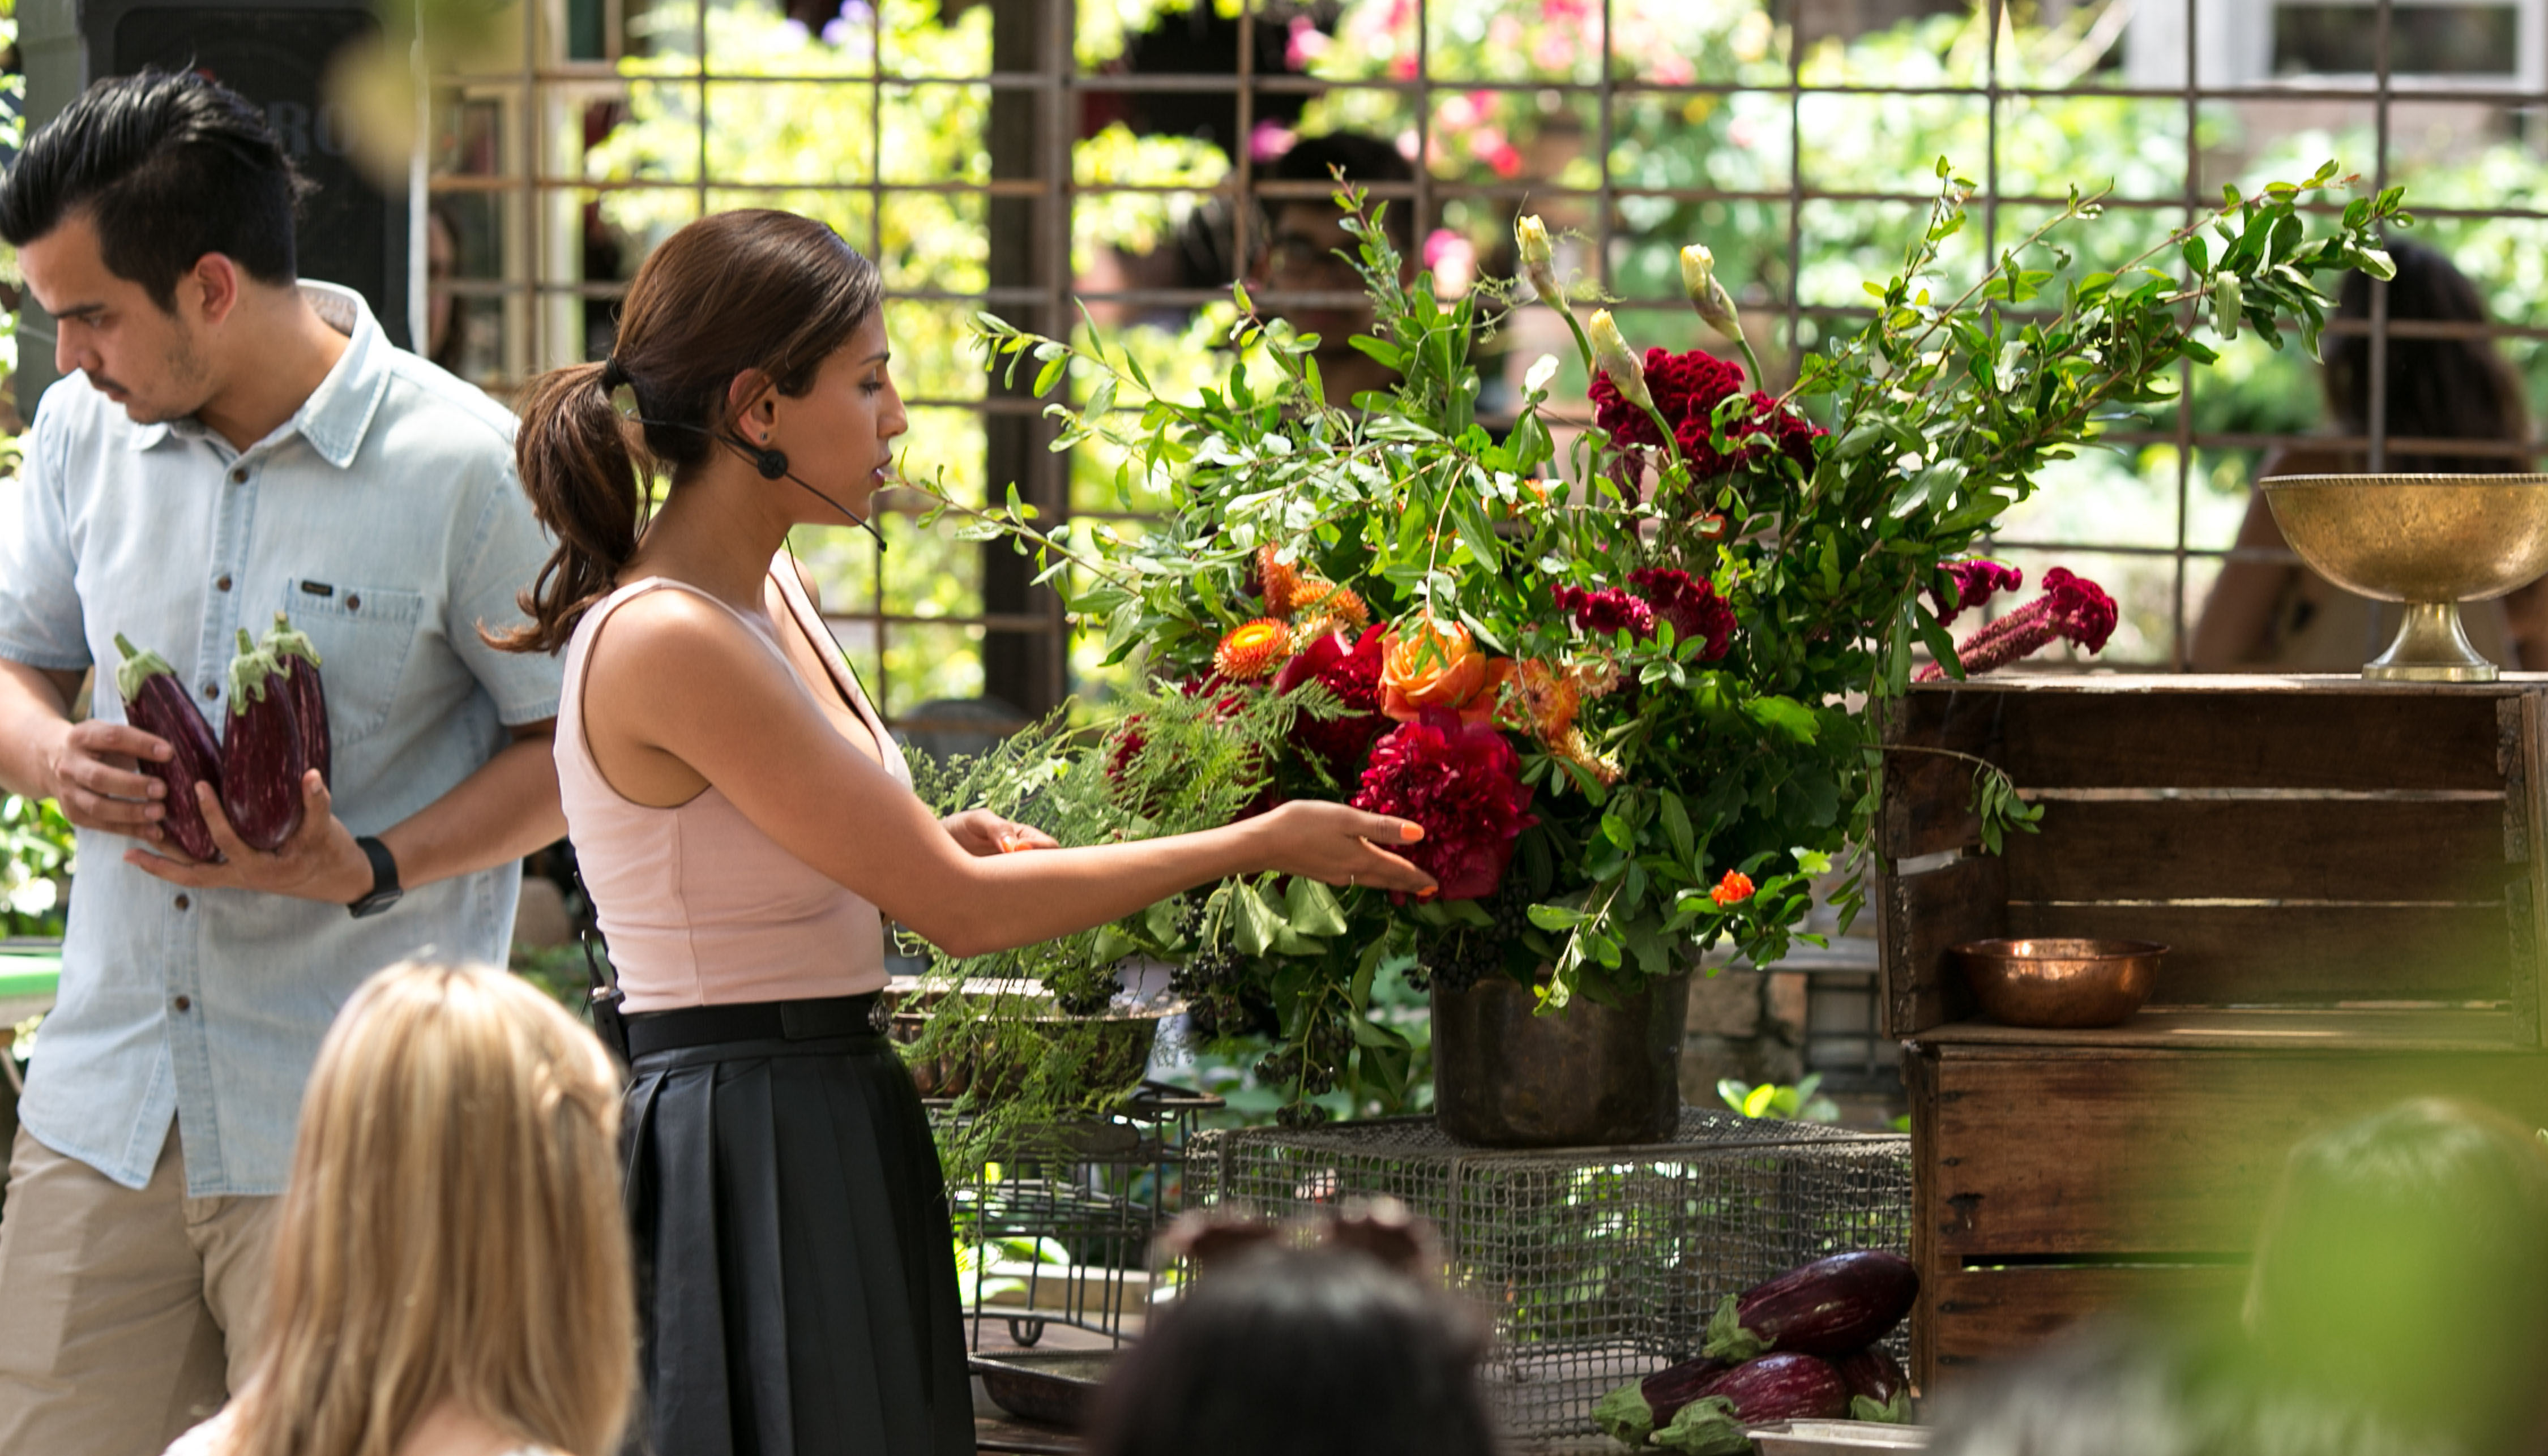
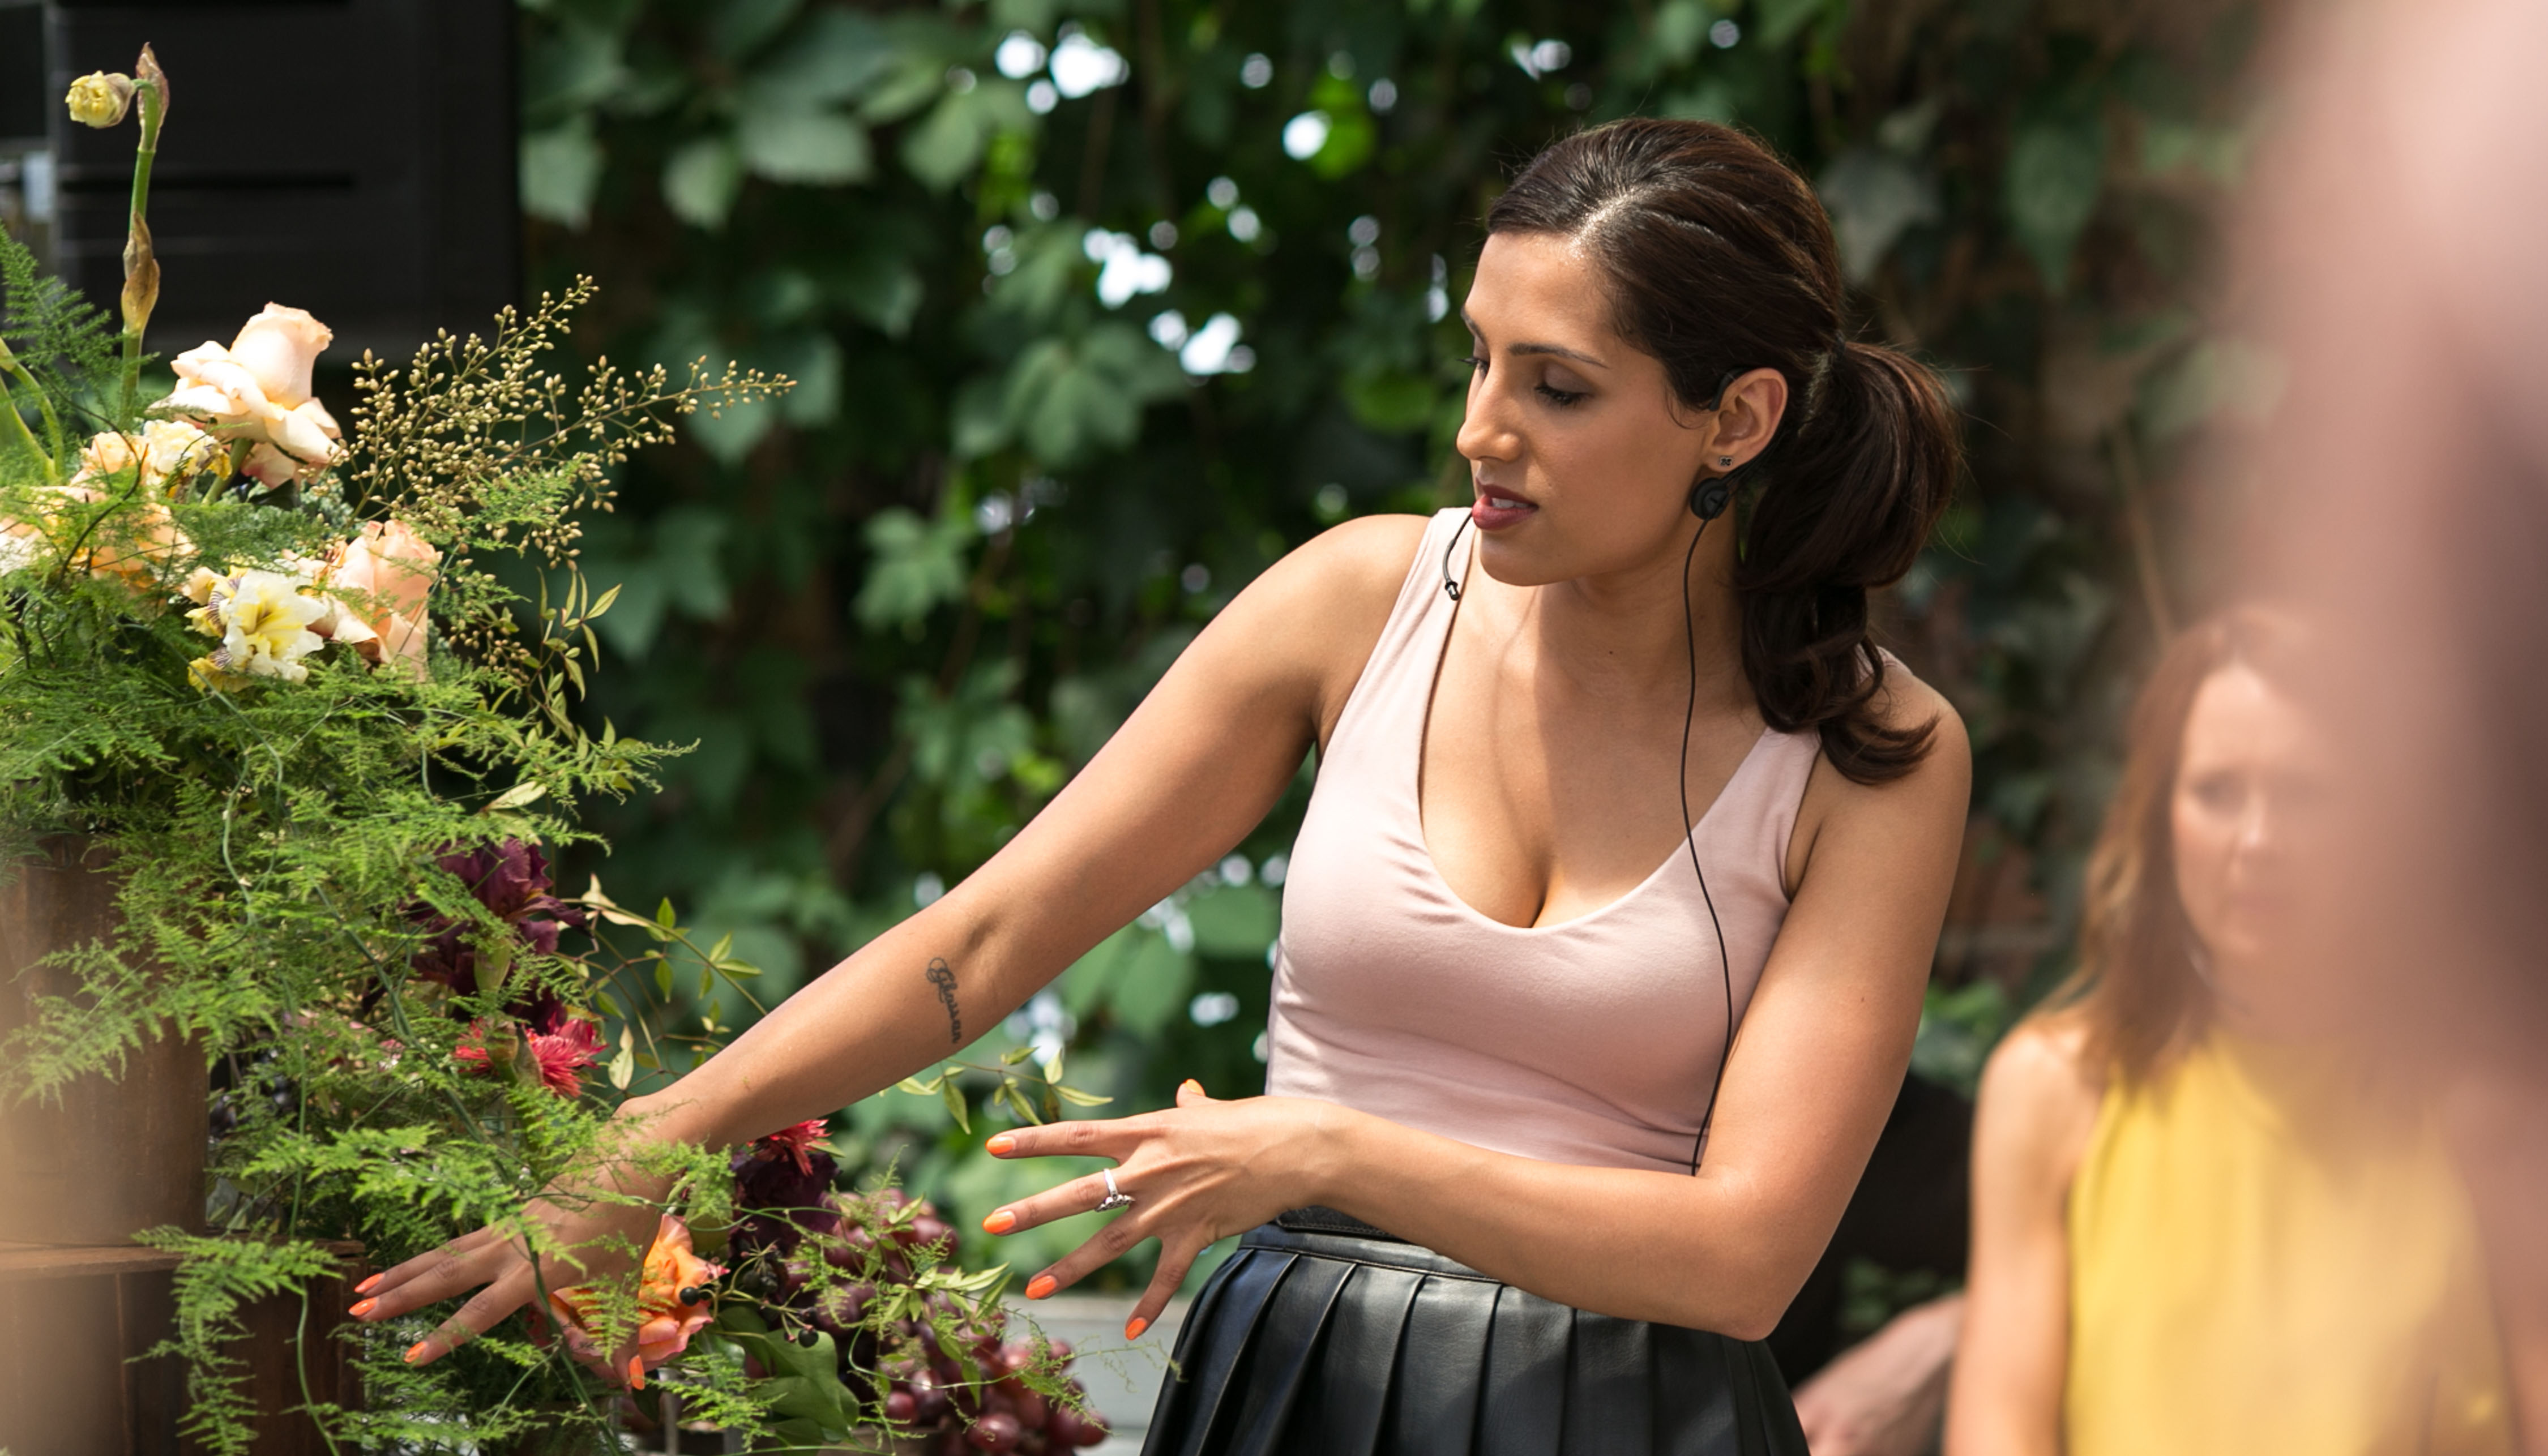
First up is injecting colour through the use of flowers. Now I’m sure you have all visited The Grounds Floral by Silva, if not is a must for your next Grounds visit. In my presentation I had beautiful bunch made up for me by Silva (link to her previous post). You’re thinking yeah but I don’t have access to an in-house florist and that is fair enough. You can pick up bunches from a lot super markets or you can do a midnight raid on your neighbours Garden (probably raid a block over in case you get nicked,) get resourceful!
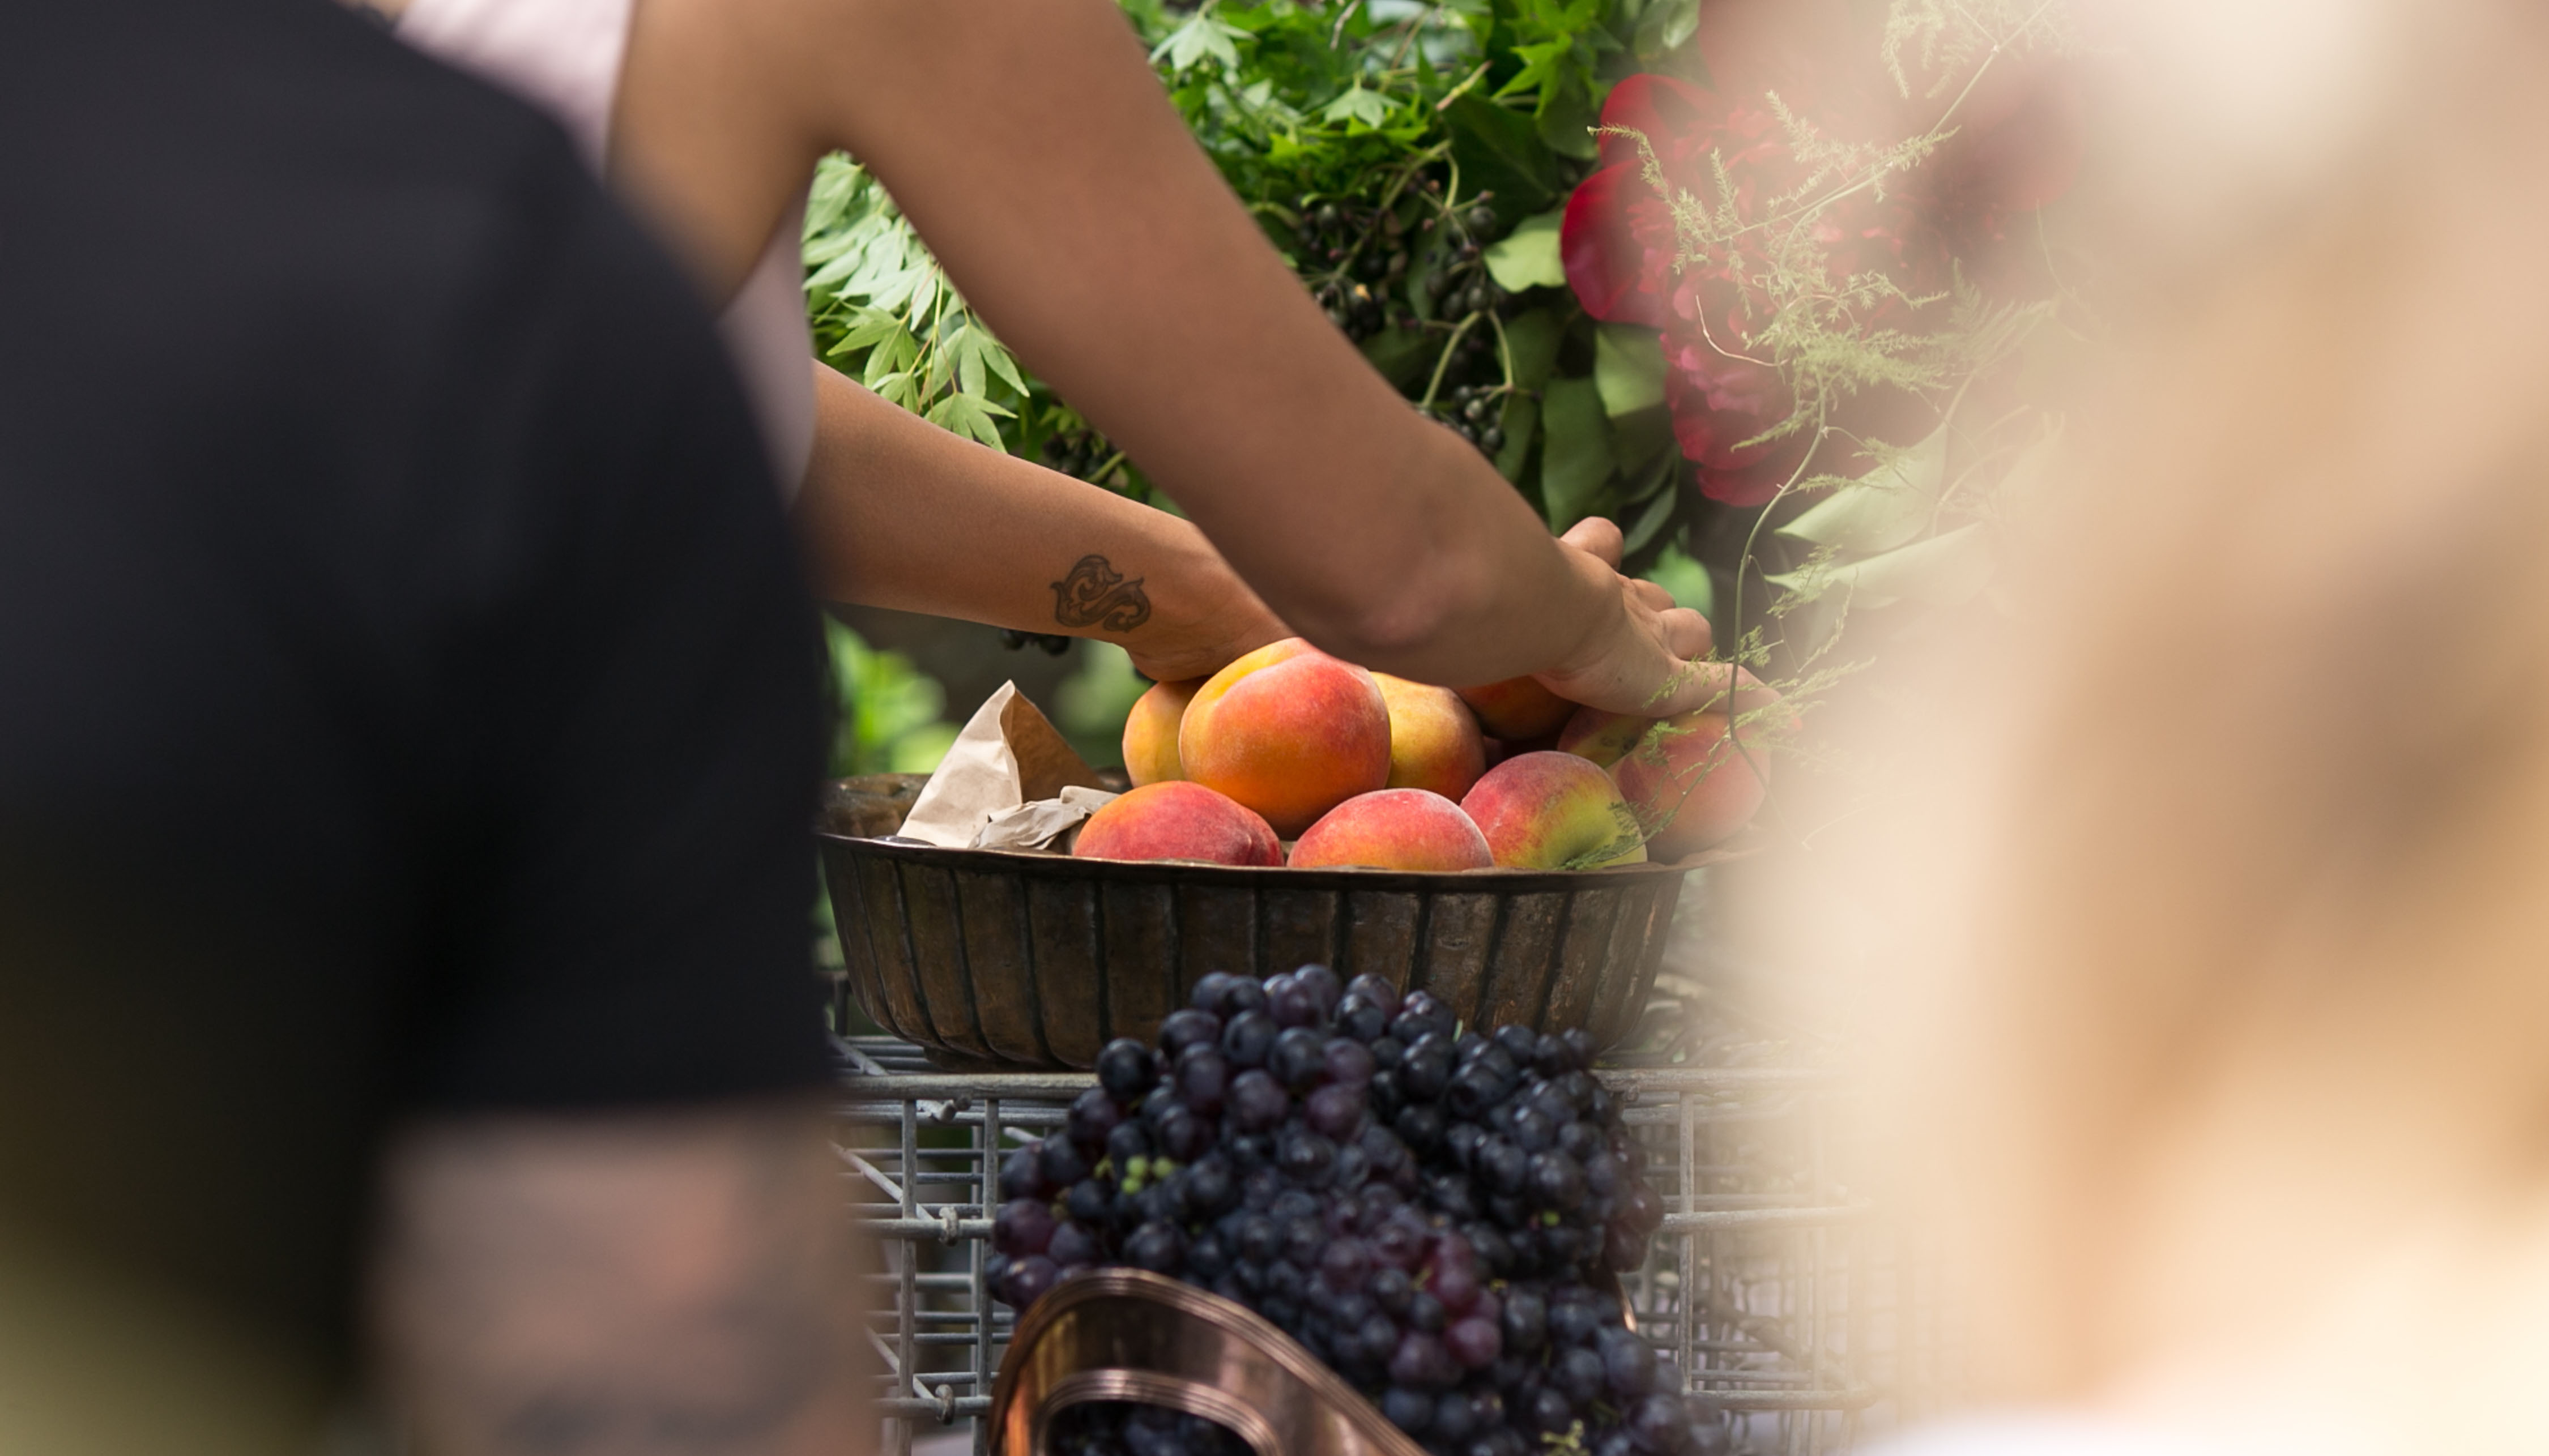
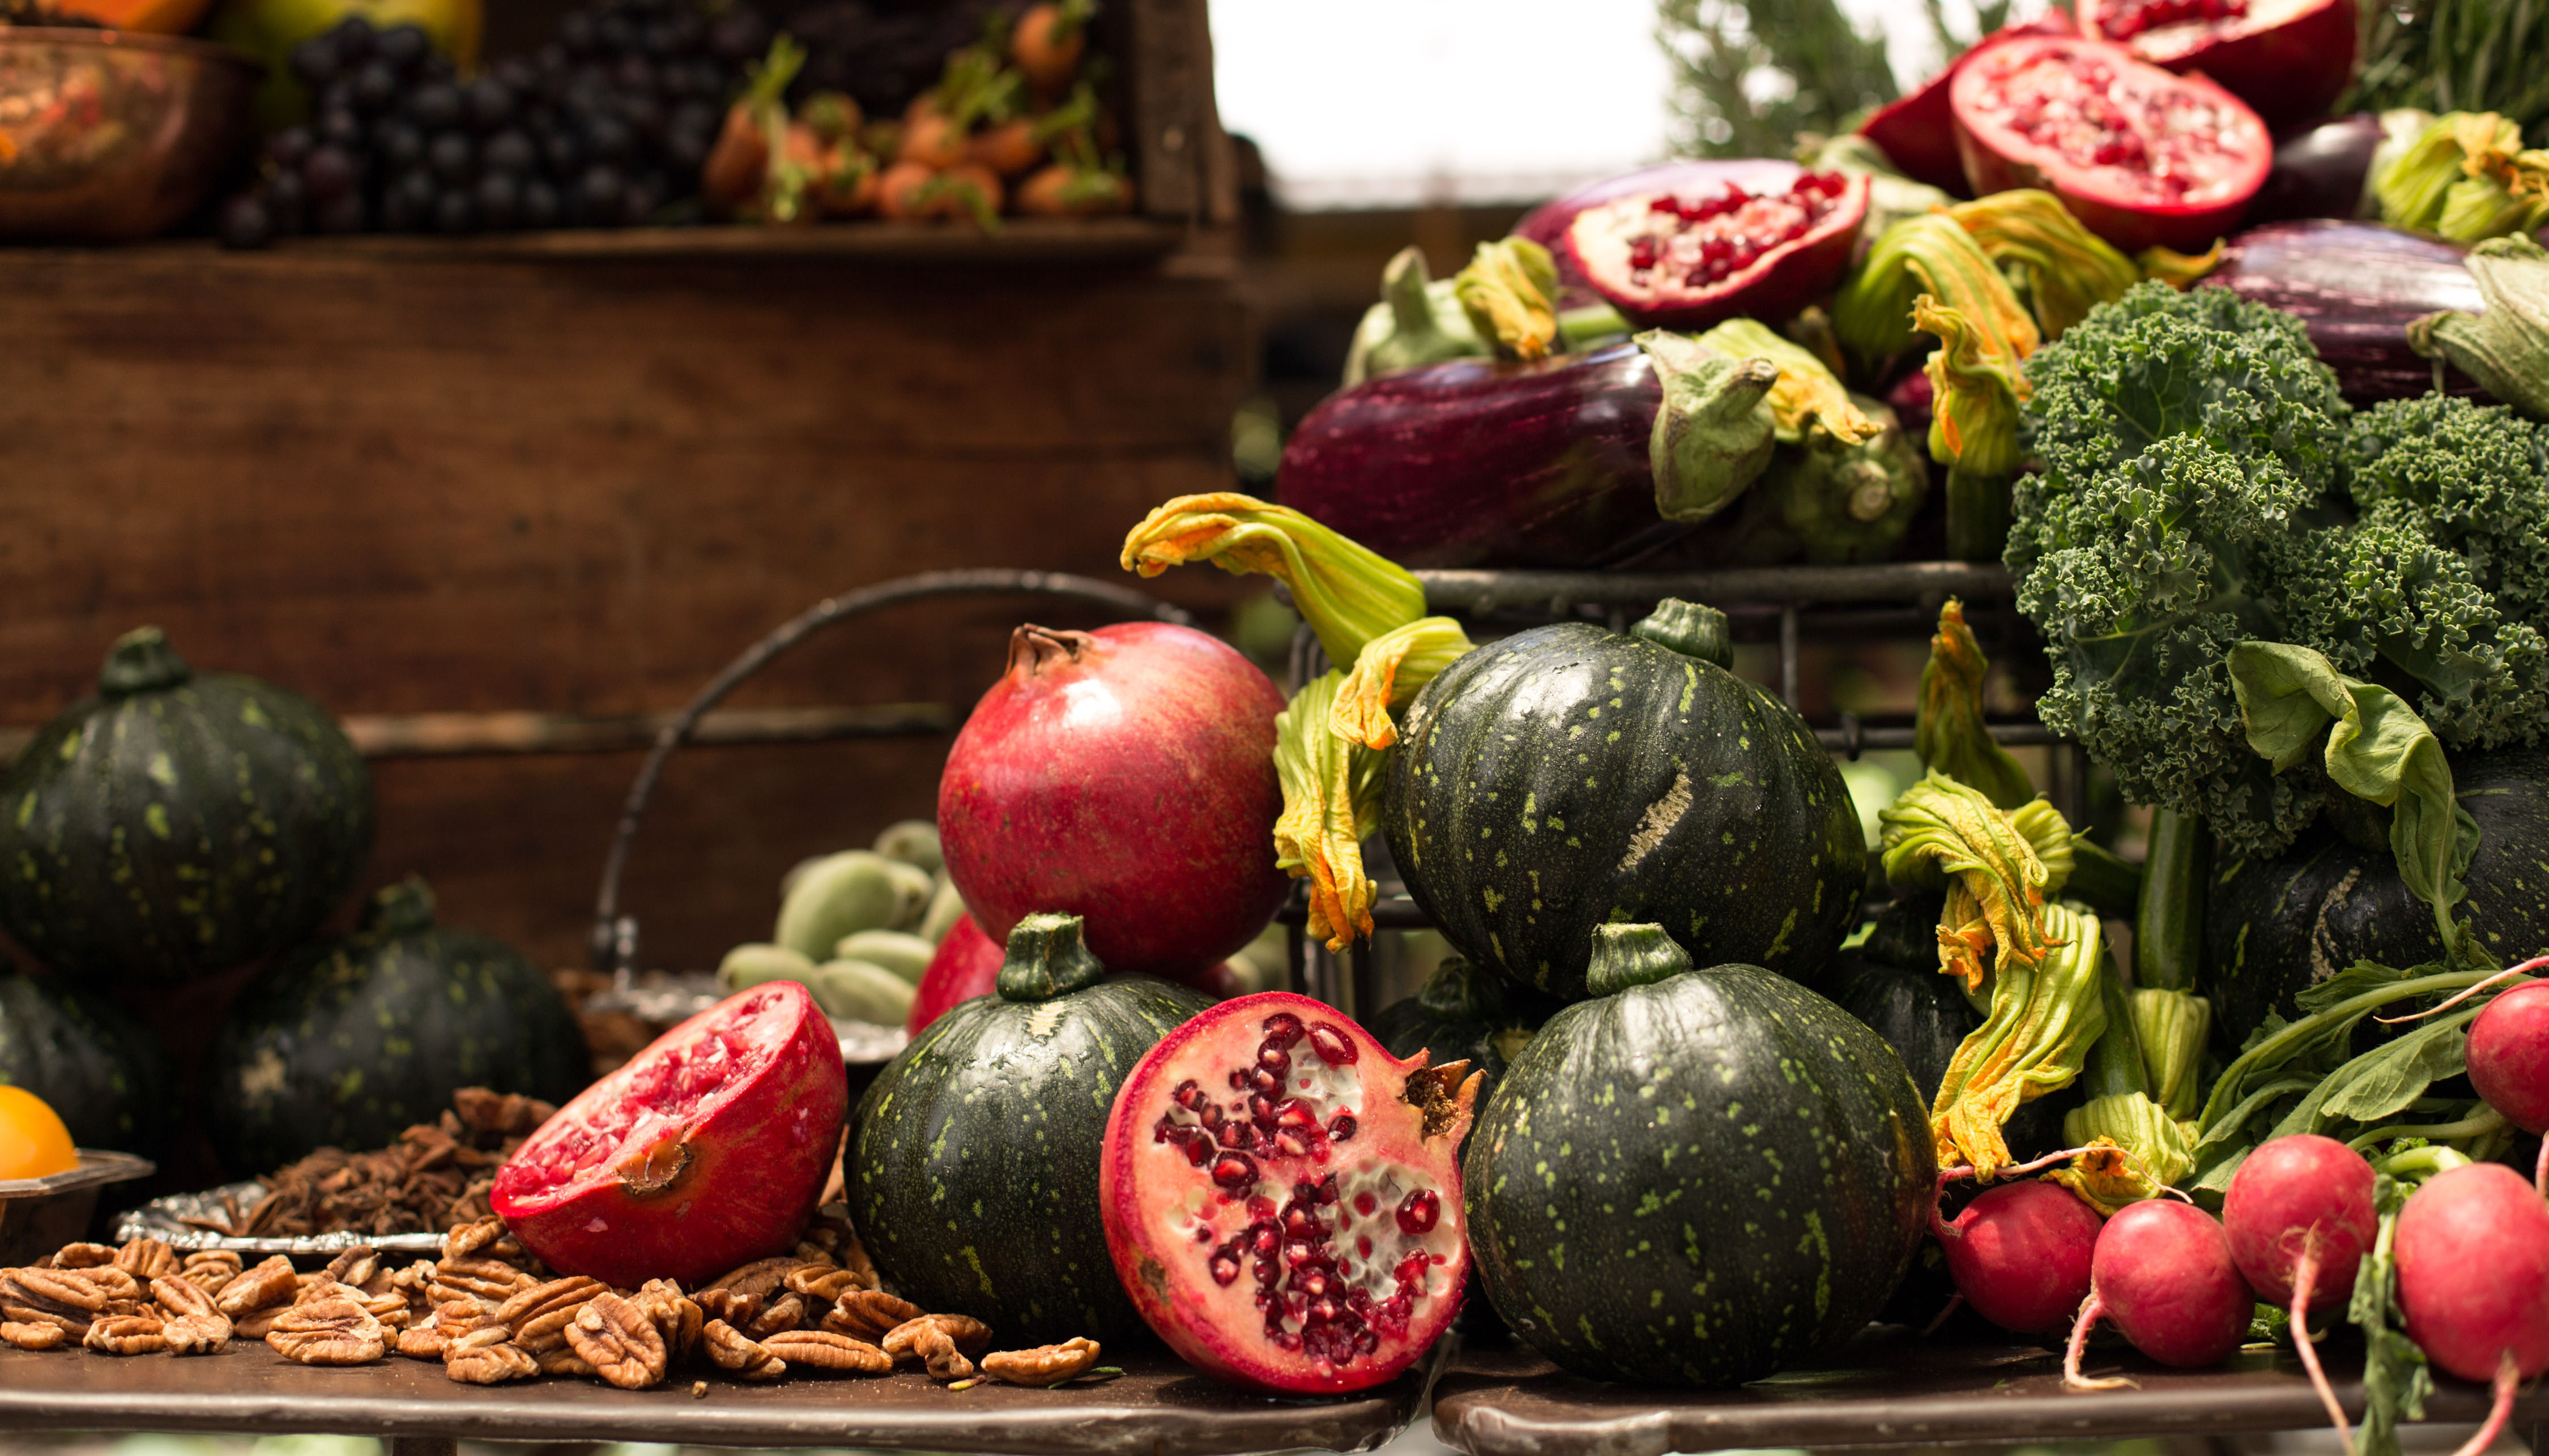
For this grazer I used all seasonal fresh produce placing larger produce first and working my way down to the small fruits and veg.
Work your way along the table placing your larger items in the vacant spaces filling the visual spaces. Use stacks and groupings to add dimension and colour blocking.
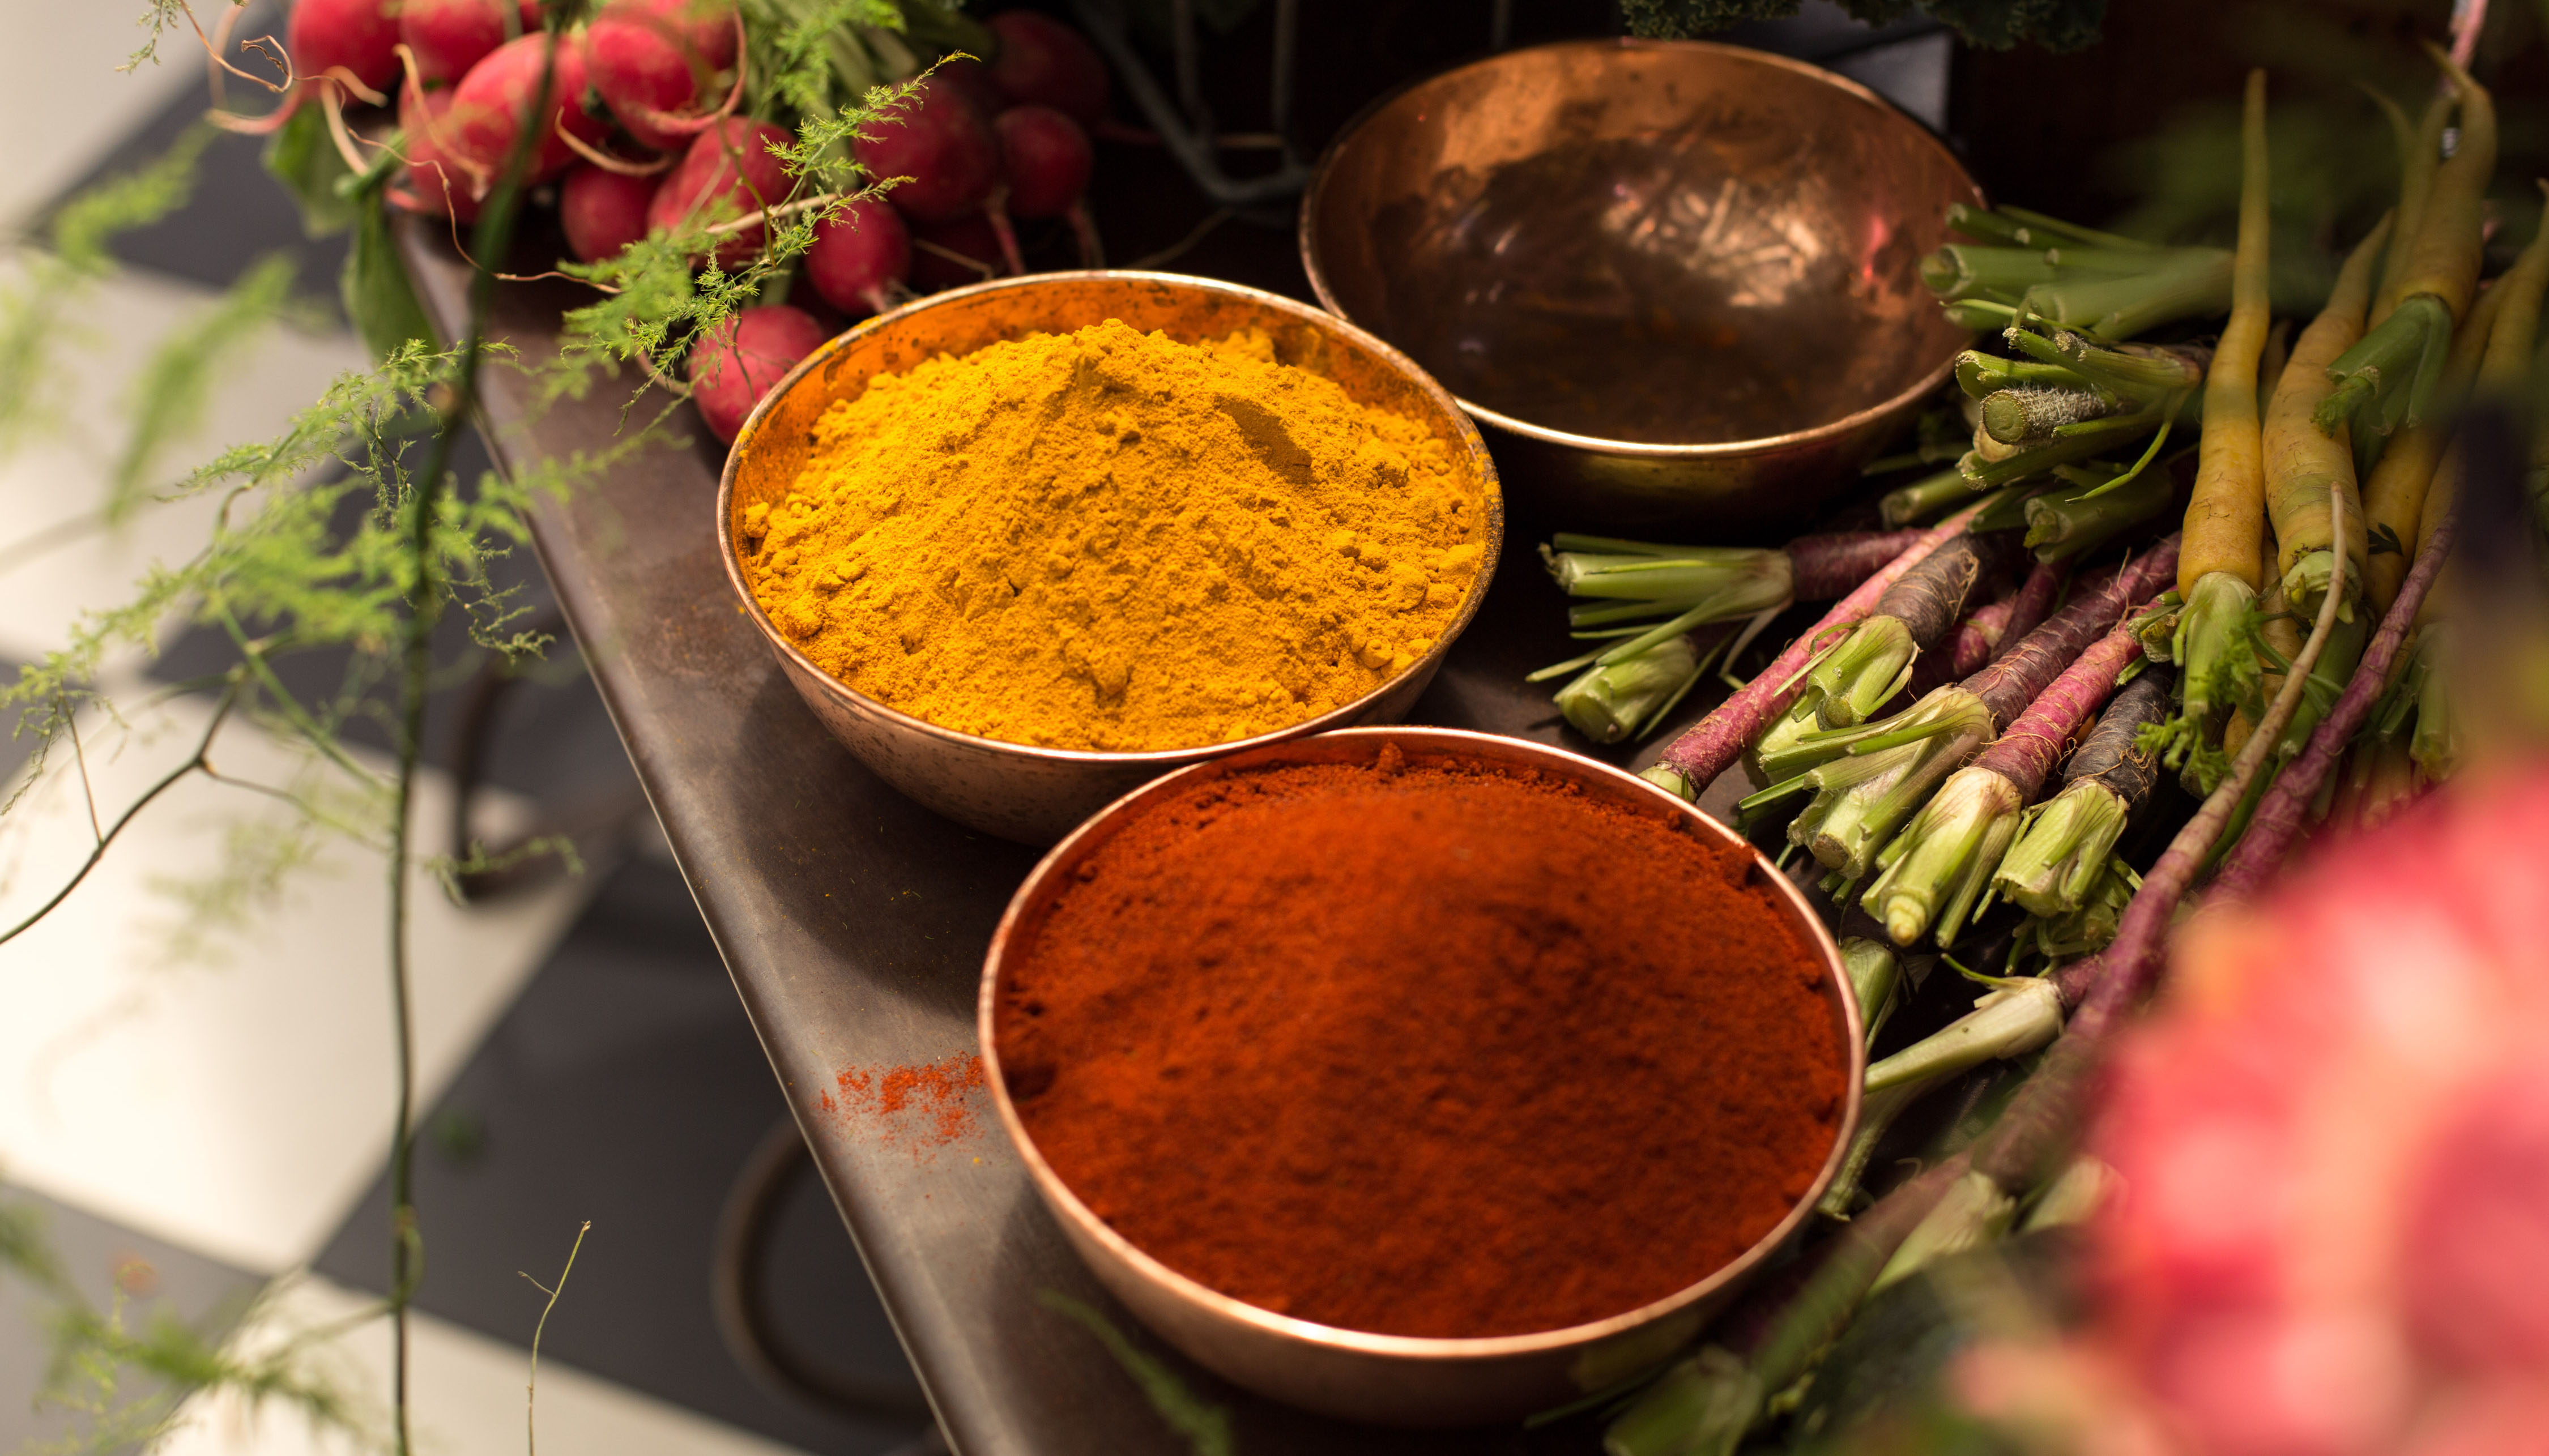
Now to the smaller bits and pieces. Because we are wanting it to look wholesome, honest and raw. Go along the table adding some nuts and spices to fill in the gaps and yet again adding another textural dimension to you grazer.
There are plenty of finer details and tricks that will help bring this grazer to abundant life, so perhaps the facebook live link could be a great spot to pick some of these up. Sticking to the 3 keys is essential as they are the back-bone and foundation for any grazer. You may want one with shaved meats or dips but sticking to these principles will always have you well on the way to presenting your very own grazer that you’re proud of!

